As focus grows on how to better preserve our natural resources, water use and waste have become a hot-button issue. According to the EPA, the average American family wastes 180 gallons of drinkable water a week. Such waste also comes with a financial cost, including rising costs for access to residential water supplies.
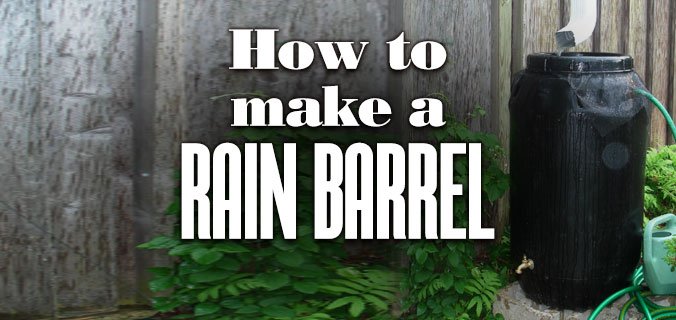
Rain barrels can help to reduce the amount of water you waste. Rather than using the limited drinking water we all share for other purposes, a rain barrel collects and filters rain, storing it until you need it. While you can use the collected rainwater for various purposes, it’s especially useful when it comes to gardening.
We’ve outlined the steps to constructing a rain barrel below. You’ll find it’s a simple process—with just a few essential tools, you can have it finished in no time, even if you aren’t the handy type. If you want a garden upgrade that will save you money and water, keep reading!
Why Make A Rain Barrel?
Besides the reasons mentioned above, rainwater is better for plants than municipal water. Water from your tap or hose contains chemical treatments so that it’s safer for us to drink, but those same treatments can be harsh on plant life. Rainwater is softer, boasting a lower PH level.
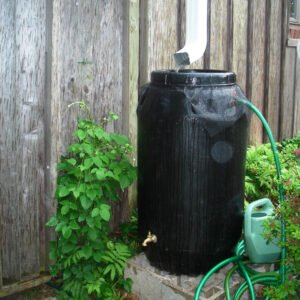 A rain barrel placed below a gutter can catch over half the rain that falls on your home for further use. They’re very useful in times of drought or water rationing during extreme heat or emergencies. However, collecting rainwater isn’t legal in every part of the United States, so be sure to check with local authorities to confirm what you can and can’t do.
What You’ll Need
You can build a single rain barrel in an hour or two with just the following materials:
- A wooden or plastic barrel. Some gardeners use rubber trash cans instead. If you do, choose one with thick walls.
- Something that can be used as an even platform for the barrel to sit on. The materials here don’t matter so long as the platform is even and stable. If it isn’t, the barrel could spill over.
- Watertight sealant. You can find tubes of sealant in the plumbing section of hardware stores. Other types of adhesives won’t work as well for this project.
- A pair of rubber washers, a couple of metal washers, one hose clamp, and one spigot. These will eventually be combined to make and secure the spigot structure.
- Enough landscaping fabric to cover the top of the barrel.
- A drill. It’s the only power tool you need to make a rain barrel.
- A boxcutter.
If it helps, you may also want to have a pen, pencil, or marker on hand to mark where you’ll be drilling before you make any holes. You may also want a level when establishing the platform.
Step One: Drill A Hole Near the Bottom of the Barrel
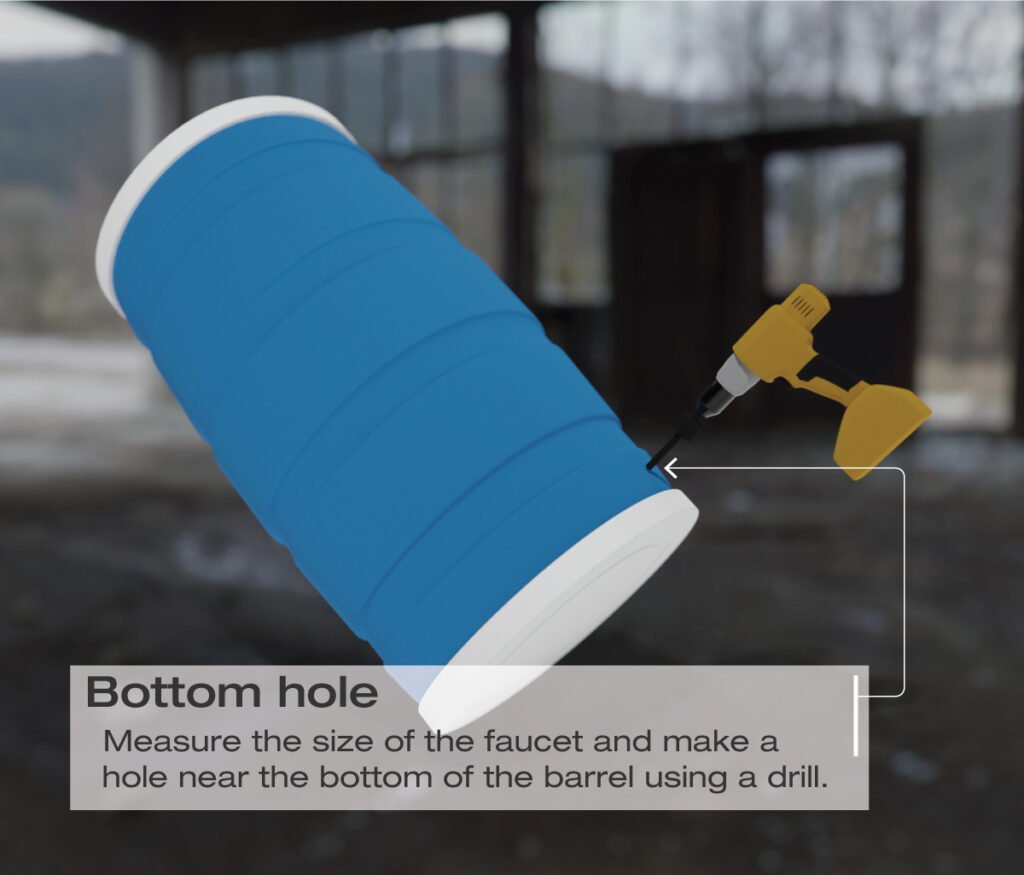
Lay the barrel on one side and drill a hole near the bottom. Make the hole at least three inches above the bottom. Use a drill bit that is the same size or smaller than the spigot you’ll be using.
 Step Two: Assemble the Spigot
Take your spigot and identify the riveted end. Eventually, you’ll insert this end into the hole you previously drilled, but you need to prepare it first. Do so by sliding a metal washer over the rivets, pushing it as far back as it will go, and then do the same with a rubber washer.
 Step Three: Insert the Spigot
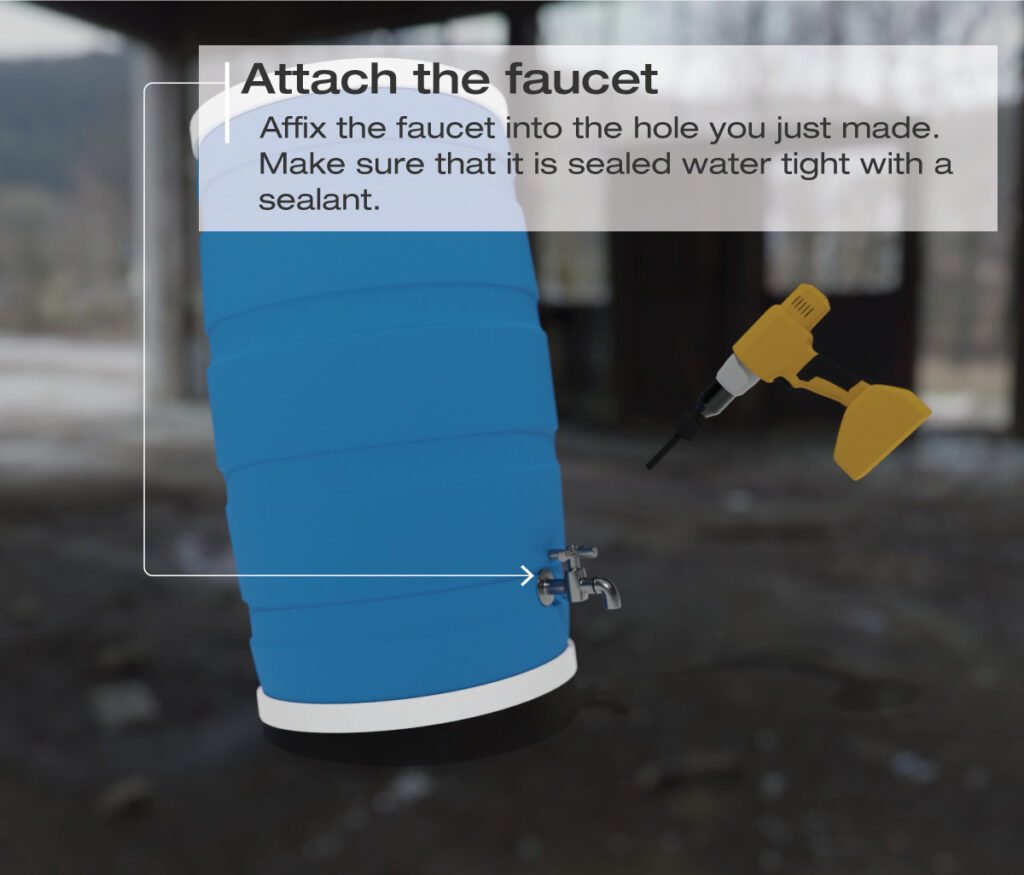
Run a bead of sealant atop the rubber washer and insert the riveted end of the spigot into the barrel. Press hard so that the washer connects with the barrel and sealant is pressed between the two. Let the sealant dry before adding another rubber washer, then a metal washer to the riveted end of the spigot in your barrel.
Step Four: Secure the Spigot with a Hose Clamp
Attach the hose clamp to the spigot from the inside of the barrel. Some builders choose to skip this step since it isn’t necessary to the function of the barrel, but it can help keep the spigot in place. If you live in an area with particularly heavy rain, however, it’s a must.
Step Five: Drill A Pair of Holes Near the Top
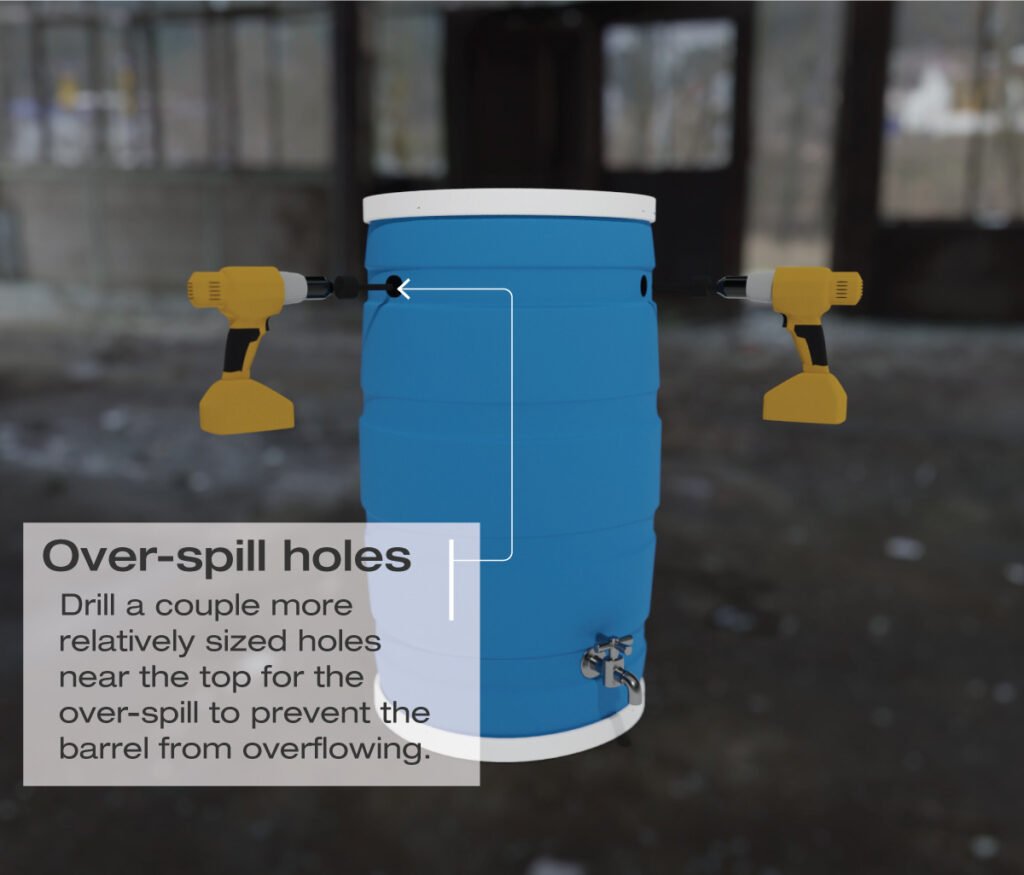
To prevent the barrel from overflowing (or bursting!), you need to add two more holes near the top.
Step Six: Determine Where Your Barrel Will Go
Your barrel will collect the most water beneath a gutter or downspout. Before placing it there, however, make sure it’s on level ground. Place the platform you wish to use in the desired spot and put the barrel on top.
Step Seven: Cut A Hole In the Lid
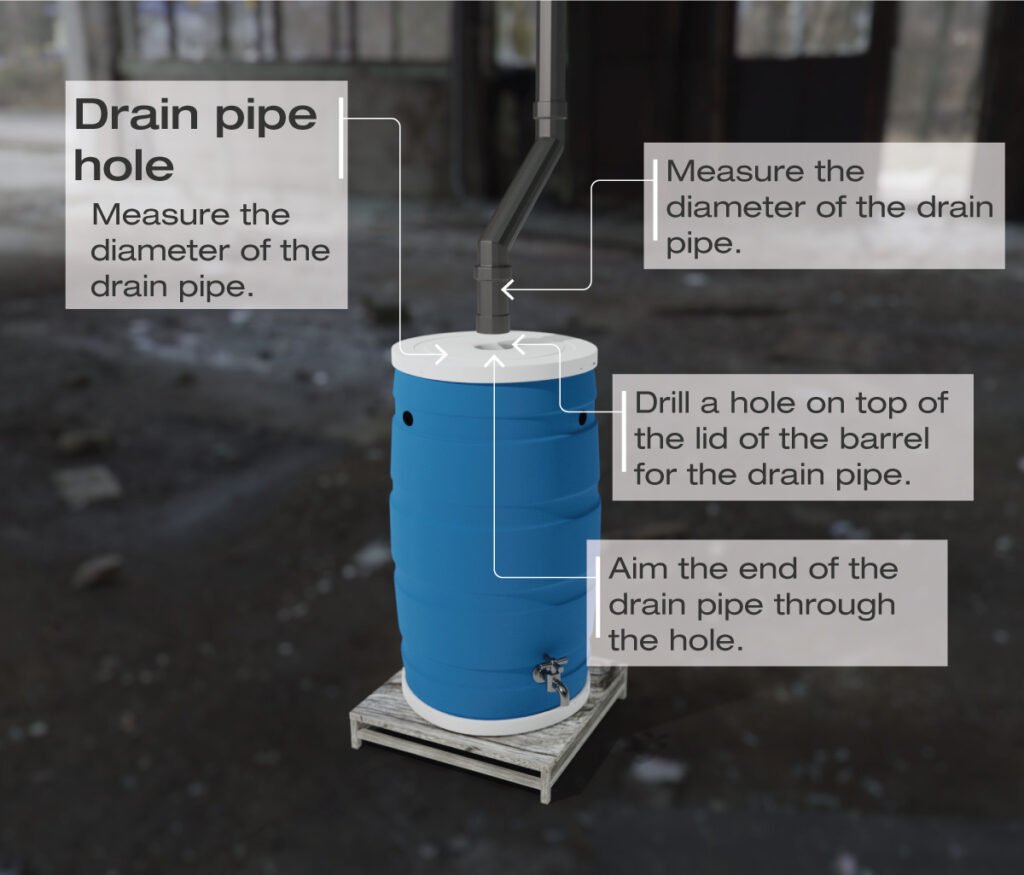
The opening that will catch water needs to be similar in size to the downspout or gutter’s opening. Don’t worry about the opening’s placement too much. So long as the water is hitting the barrel, it will find its way inside.
 Step Eight: Add the Fabric
Remove the lid of your barrel, cover the top of the barrel with landscaping fabric (cutting to fit it if you must), and put the lid back on. The fabric will act as a filter of sorts, preventing bugs and debris from entering the collected water.
Step Nine: Enjoy!
That’s all it takes to make a great rain barrel. When you’re ready to water your garden, you can fill your watering can without having to run up your water bill. It is such a small thing to do, but you’ll soon see just how much better collecting rainwater is for your greens—and your wallet.



Comments are closed.