A fire pit is a perfect project for those of all skill levels, from beginners to experts. You can build your pit out of either natural stone or man-made pavers. The design you choose is based on both your taste and the materials available to you.
This article contains 20 DIY inground fire pit ideas, spanning various styles to suit many taste profiles. With a variety of options available, you can find the perfect one for your backyard. Don’t worry if you’re working with a limited budget and are looking for affordable options. With these ideas, you can construct a fire pit that will become the centerpiece of your outdoor space.
To make a basic fire pit, all you need to do is stack bricks, flagstones, or pavers. If you want an underground or inground fire pit, be prepared to dig a hole and sink the pit into your patio. Are you ready to get started? We will guide you through your options step-by-step.
1. Use Pavers to Build Cheapest Fire Pit
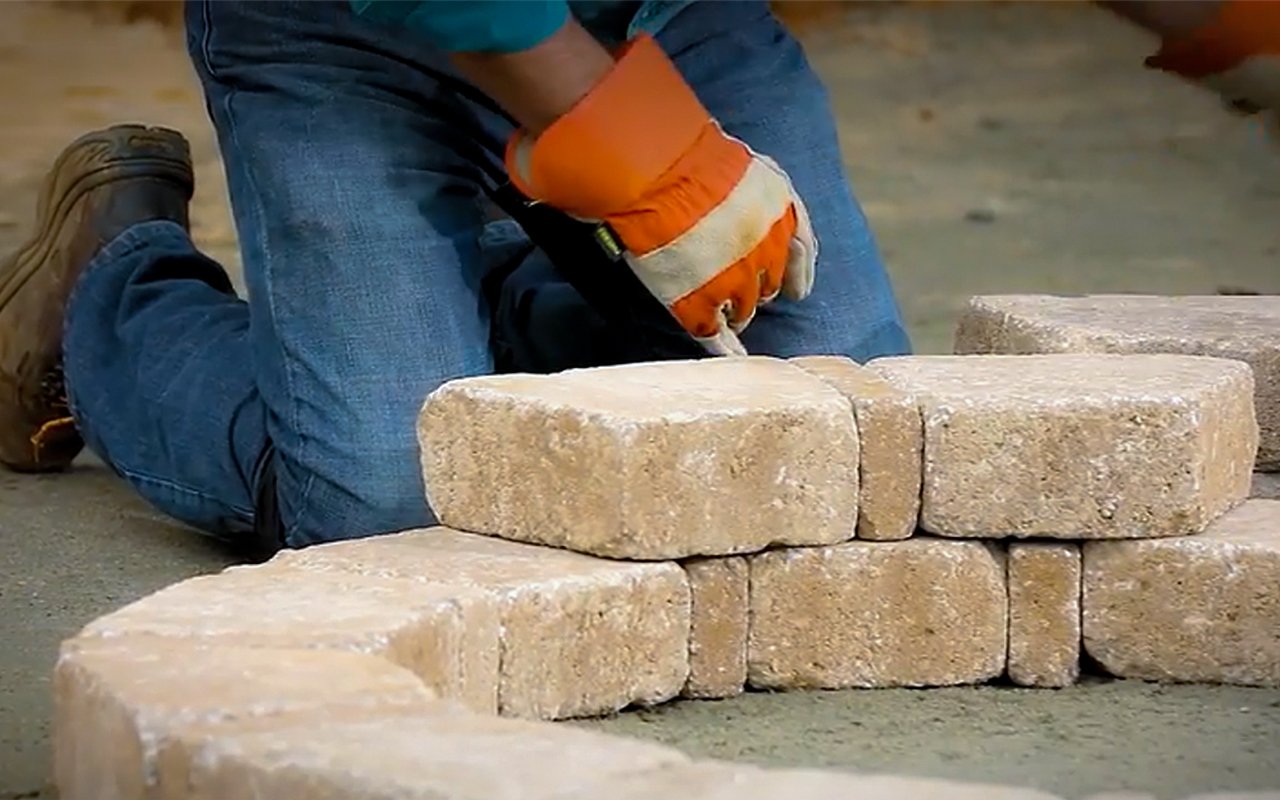
Paver stone fire pits are perfect for those who enjoy DIY projects. Pavers are blocks of concrete that can be used for patios, walkways, and landscaping.
The beauty of these pavers is their simplistic design- if you use trapezoidal pavers, it becomes a piece of cake to form a perfect circle. That is why these concrete blocks are perfect for building circular fire pits that will grab attention. Generally, installing the product above ground is better to avoid digging any holes.
You’ll only need a few large pavers for this inexpensive DIY project. Before you start laying your fire pit’s stones, it is crucial to make sure the ground is level. After you finish building your fire pit, add a layer of small rocks or sand at the bottom to prevent future fire hazards. You can choose to have two or three rings of paver blocks, depending on how high you would like your pit to be.
This design is simple, but it could be more simplistic. If you’re planning on building a pit in your backyard, but it’s only covered with grass or dirt, then there’s no need to add sand or gravel. If you need a fire pit that will last for years, consider building one with pavers. Then, all you have to do is level the ground and lay out a few rings of heavy pavers. If necessary, use outdoor glue to hold them together. And that’s it–you’re done!
2. Add a Resting Spot for Cooking Pots

Why does everyone think fire pits have to be round? These more unique shape keyholes – like the semi-circle one pictured – are not only pretty but also practical. Although this terracotta paver stone pit is not very deep, it has two sections: one for the fire and the second for coals to cook on. The narrower bottom section of the grill is perfect for a small grate, which can also be used as a heat-resistant surface for pots and pans. This way, your food will stay warm while you’re cooking.
3. Build the Simplest In-Ground Stepping Stone Pit
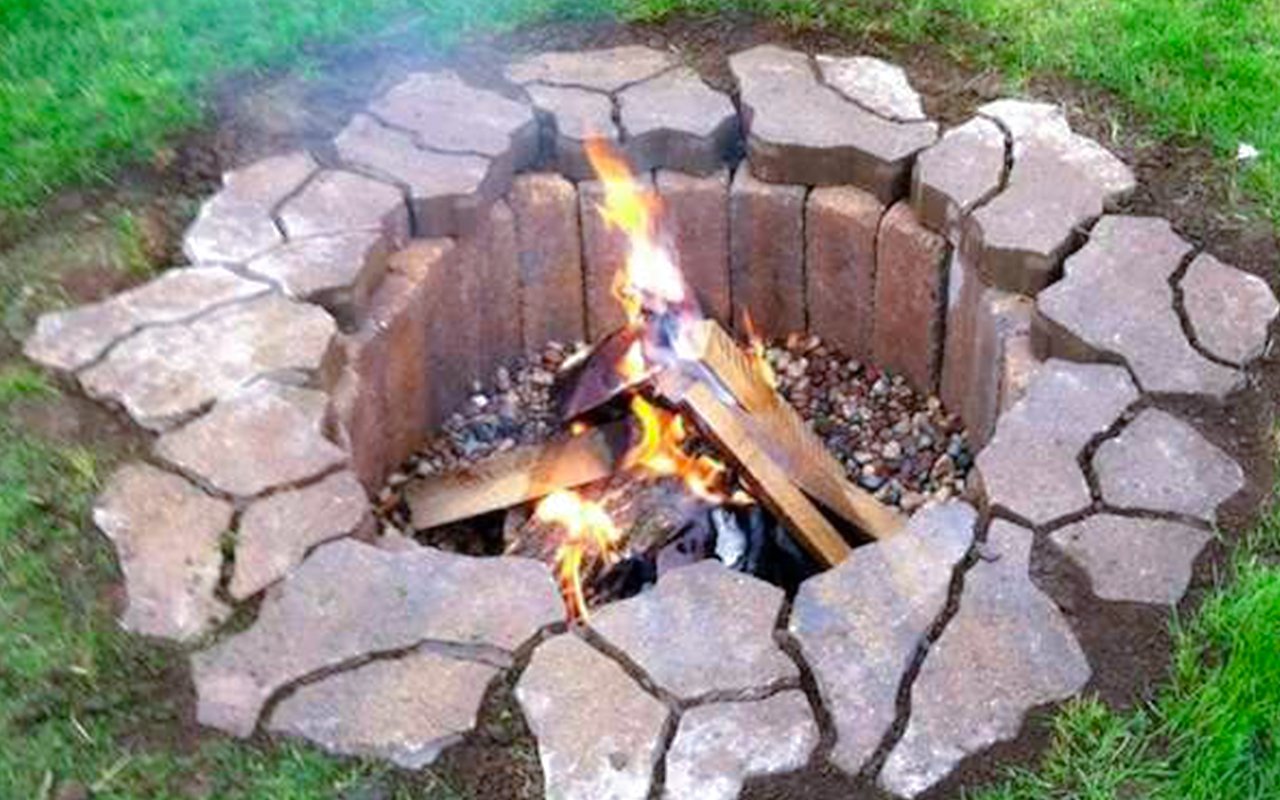
Steppingstones aren’t only for your garden. You can use them to build an impressive in-ground campfire pit as well. The principles remain the same. To build your fire pit, first, dig a hole that is the desired size. Next, place stones in a circle around the perimeter of the hole. Finally, fill the space between the stones with gravel. The advantage of having an in-ground fire pit is that, after some time passes, the grass will grow around it, and it will look like a courteous part of the scenery.
4. Use Different Materials
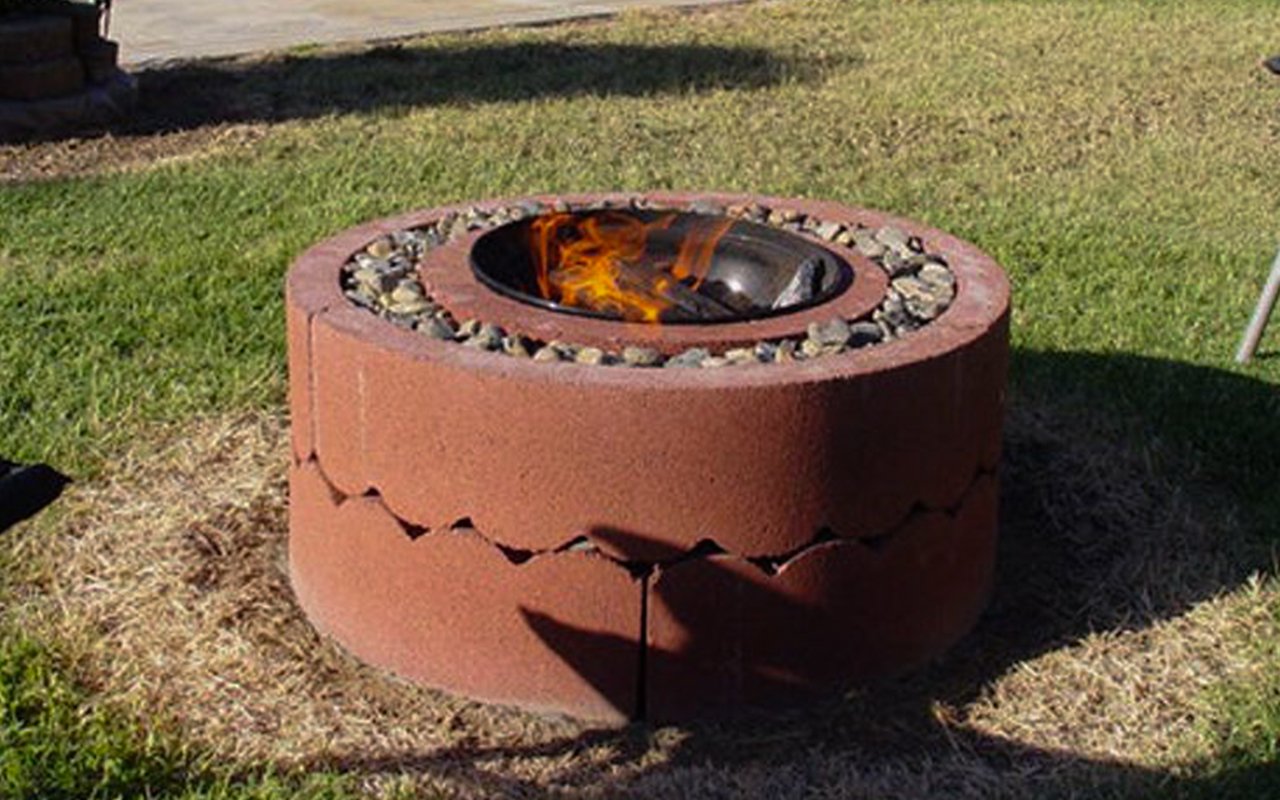
We frequently discuss how advantageous it is to use bricks, pavers, and masonry rocks for DIY projects. While staying within your budget, why not create this inground fire pit that looks great by using different materials? This sunken fire pit is created with a perimeter of flagstones and small pebbles, adding a simple but elegant touch to any yard.
This makes an excellent teepee stand, perfect for slow-cooking stews and soups outdoors. Having an extra pavement layer also makes it less likely to catch fire.
Tip: First, put bricks together in a round shape on the ground to ensure you’re making the correct size hole. Then, trace an outer circle with a stick. Next, remove the bricks and start digging where you made your marks.
5. Build the Extended Brick Fire Pit for Cooking
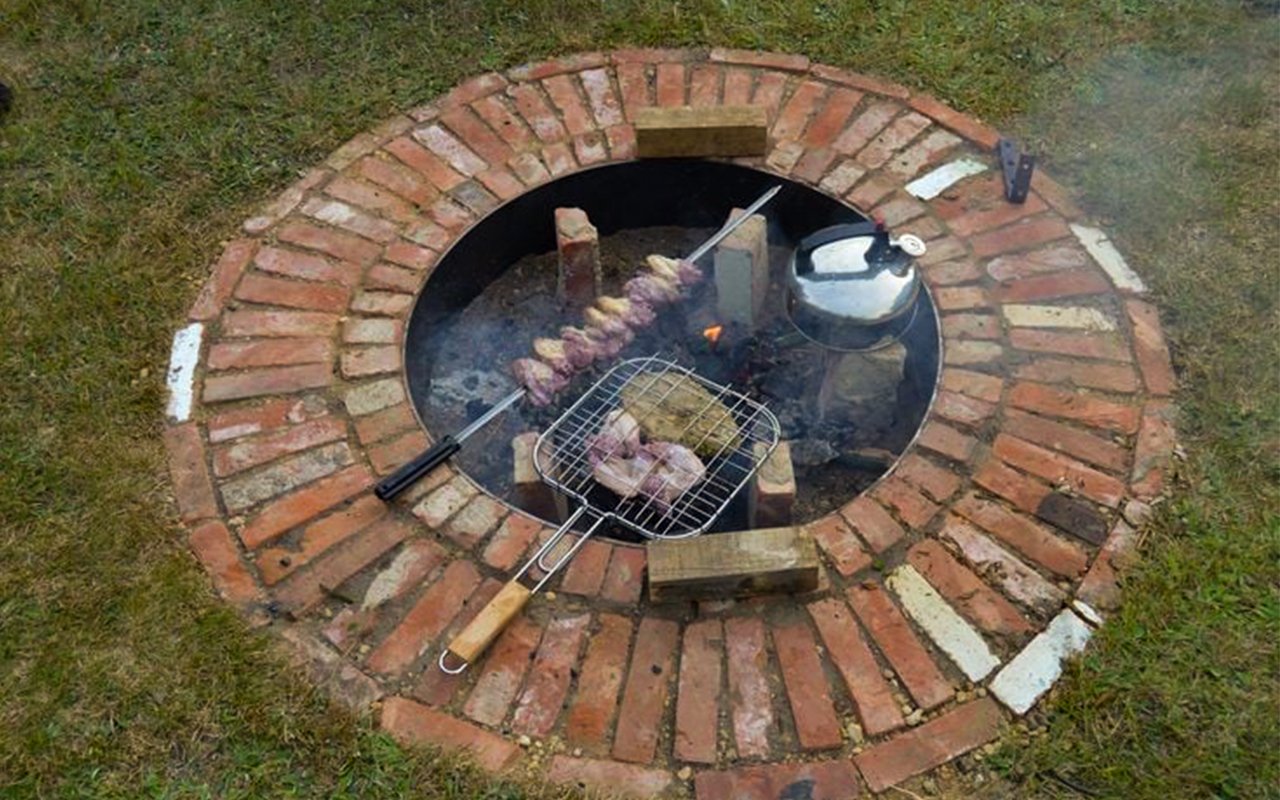
Earlier, we looked at instructions for building fire pits out of metal rings typically found at hardware stores. This unique design has a ring that is sunken in and then surrounded by bricks placed horizontally and vertically layouts. If you want to utilize your fire pit for cooking, the extra bit of perimeter space is perfect for resting grates and rotisserie irons.
6. Use Red Bricks for the Quick and Easy Semi-Circle Design
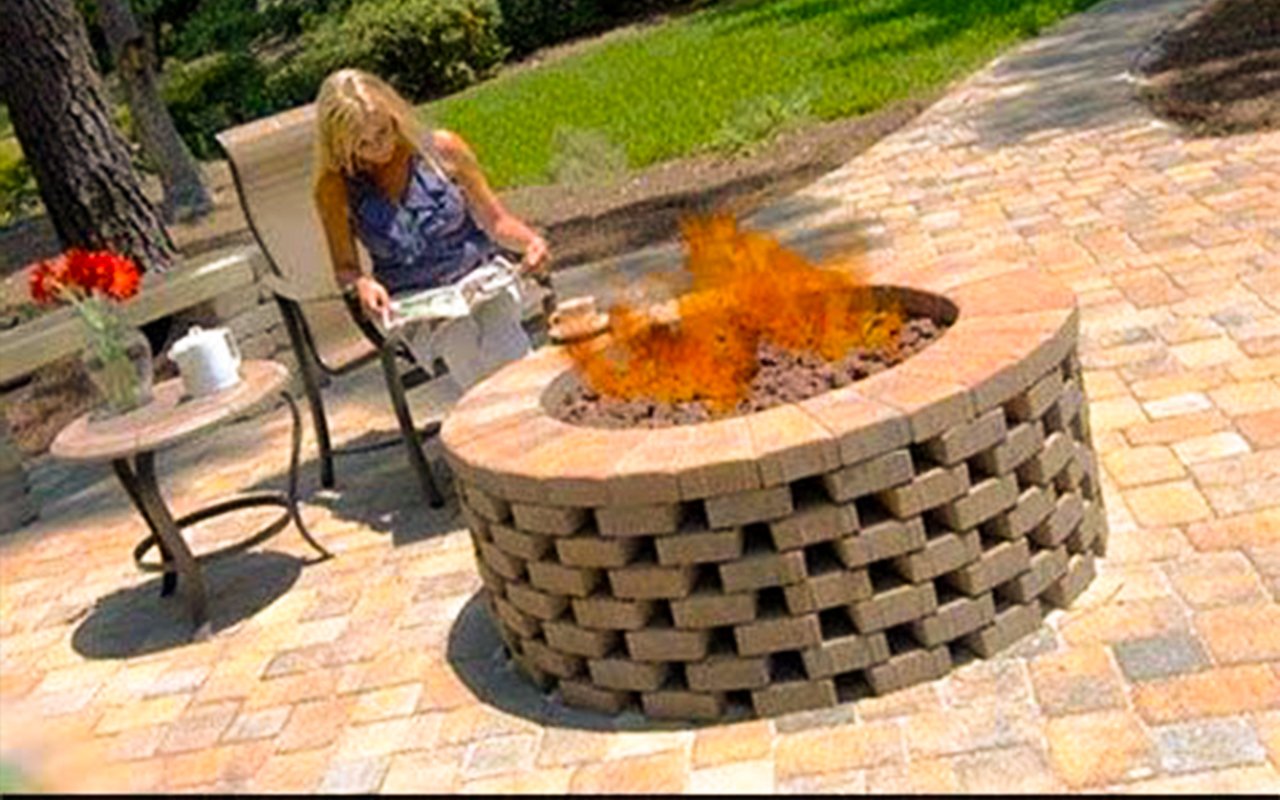
This charming semi-circle inground fire pit may be built in just a few minutes with simple steps. However, it needs to be deeper and wider for big bonfires. Rather, use this design for its beauty rather than its usefulness.
7. Add a Raised Grill
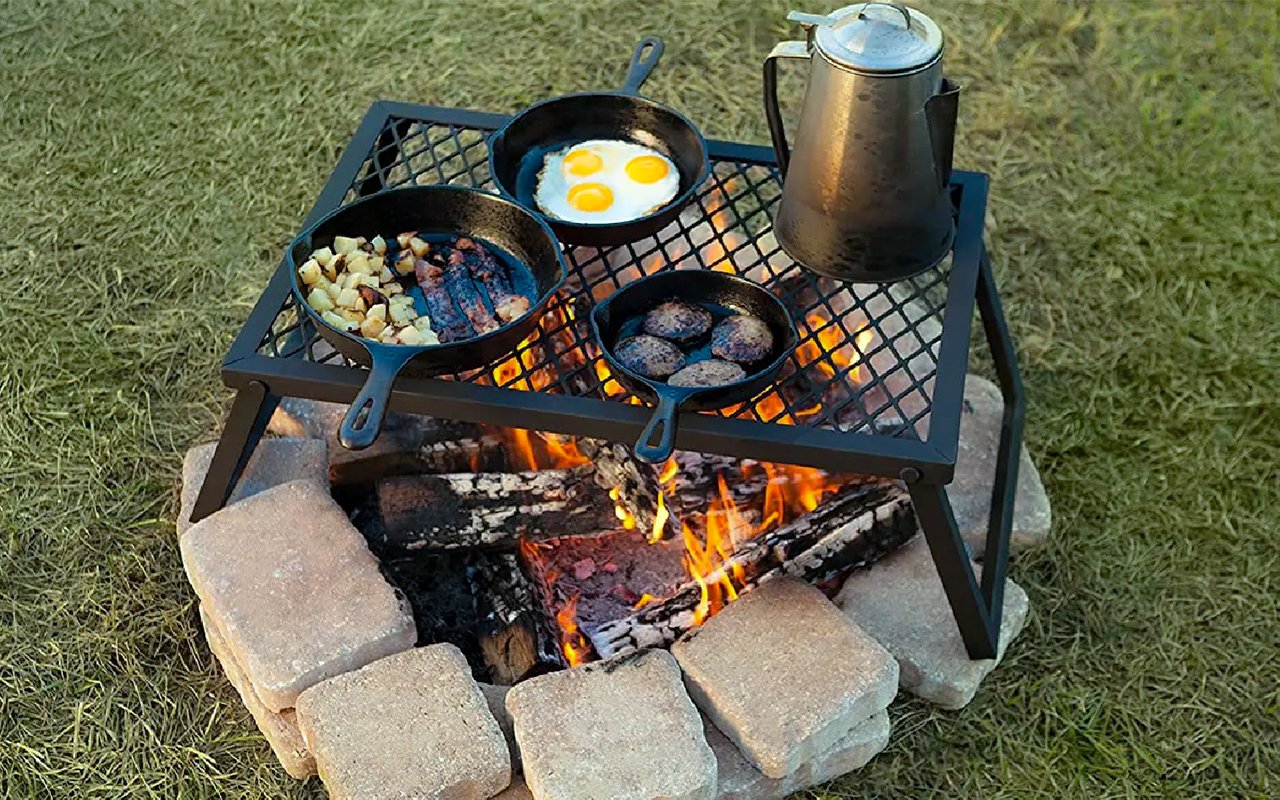
The capability to adjust the height of your grill makes your outdoor fire pit a great spot for barbecuing. There’s no denying that wood-fired food tastes great. Make sure to plan ahead and account for a resting spot for your grate during the building stage. The best solution is to pour concrete around your metal base.
8. Design an Accessible Horseshoe Shape
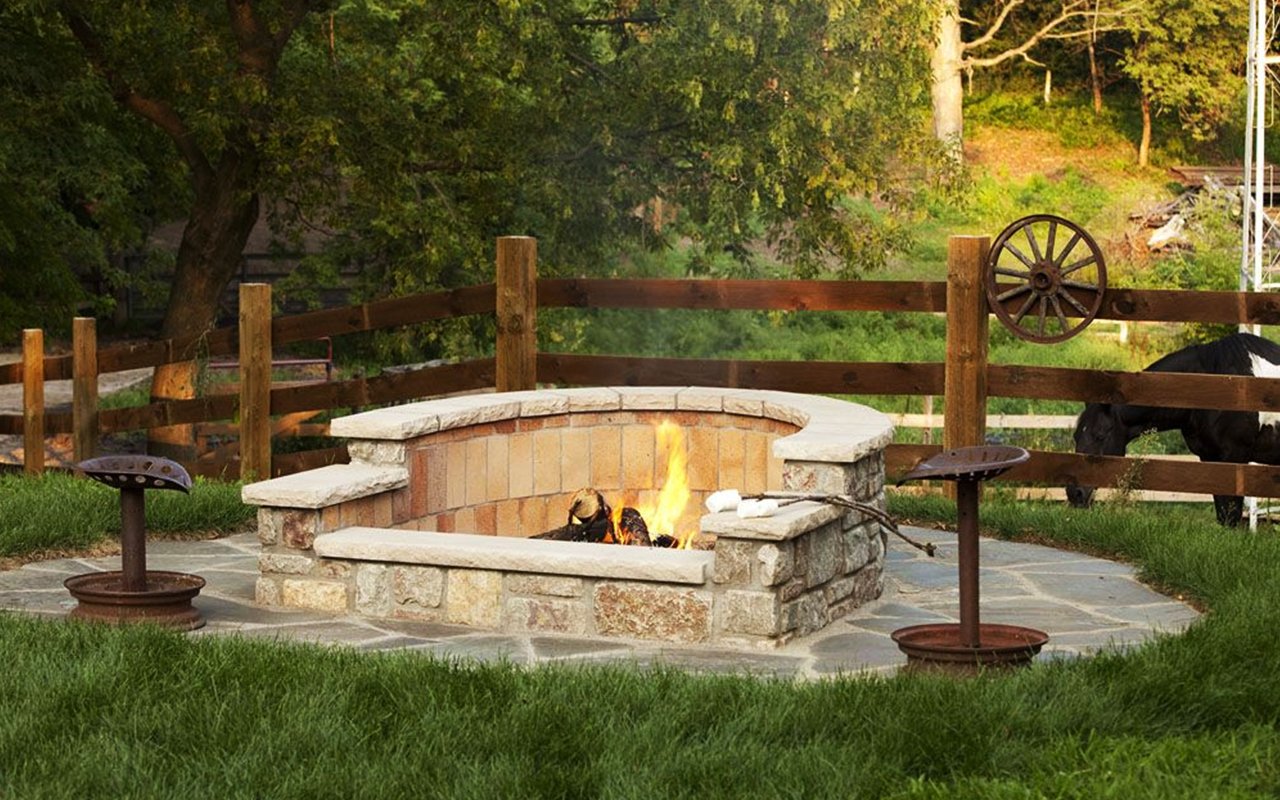
This example demonstrates the designer’s creative use of space by turning a small area into the perfect barbeque pit. The layered flagstones are arranged in a horseshoe shape, which gives the chef plenty of room to move around. You can also add or remove layers of stones to grill at your desired height.
9. DIY a Shallow Sand Pit
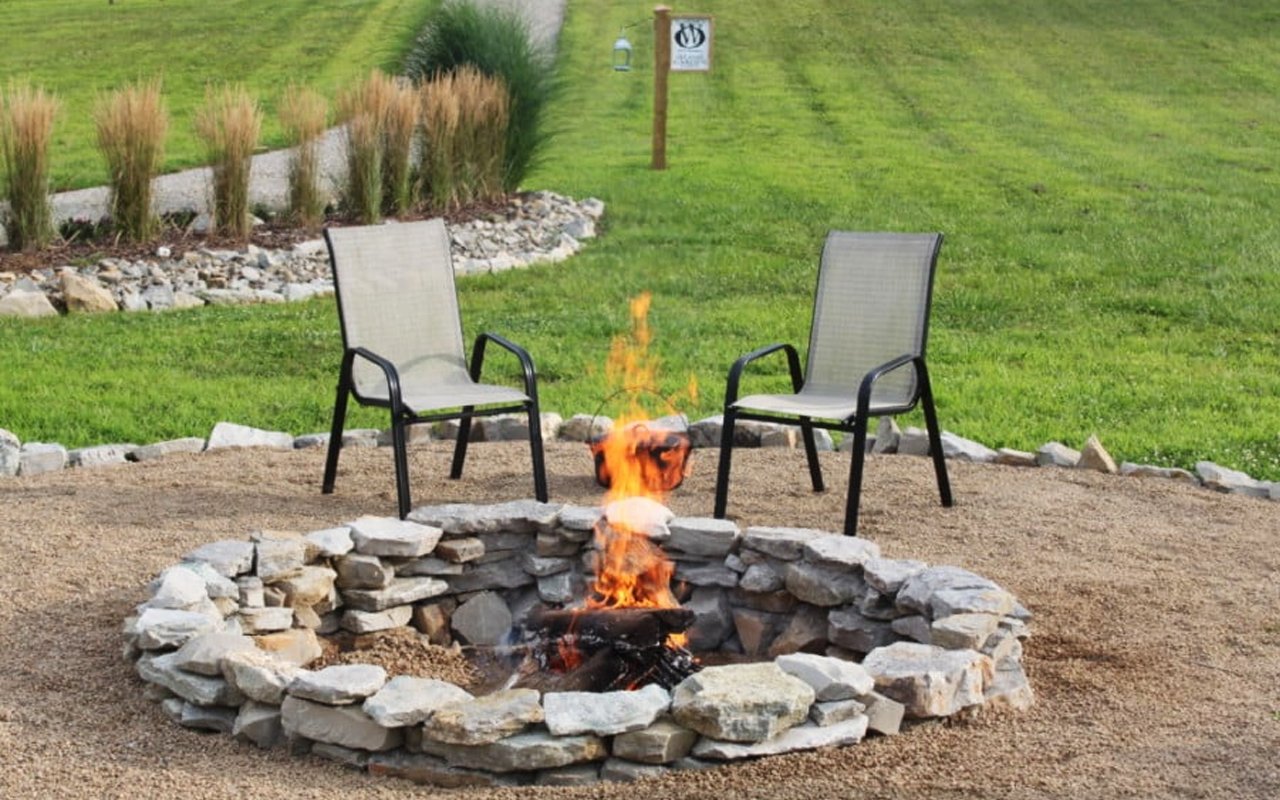
This comfortable and stylish pit will make any night more pleasant. The sand inside and around the fire keeps it contained so you can enjoy the flame’s full heat without worry.
This is perfect if you’re looking for a fun and cheap project. Made from lie-around flagstones, anyone can quickly build this themselves. If you’re interested, invest in some exterior glue to keep your rocks from moving.
10. Create a Unique, Artistic Design
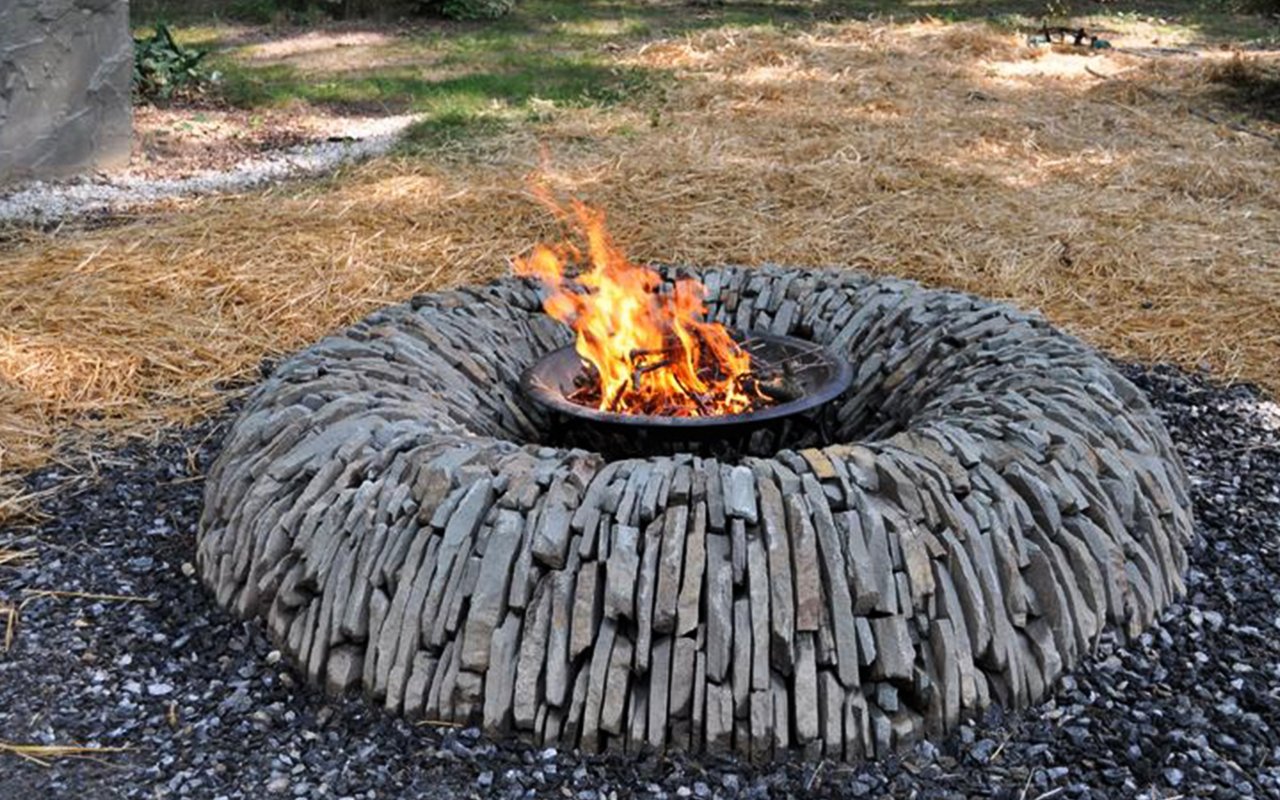
We’re used to seeing pavers and bricks stacked in horizontal layers, but we’ve to admit this vertical rock design is more creative in terms of artistry.
The waterfall formation of this design, made with flat sandstones or soapstones, is ideal for a bowl or cast-iron fire well. With a little bit of patience, anyone can do it themselves- it’s not as complicated as you might think.
11. Build a Safe Pebble Pit and In-Ground Slate
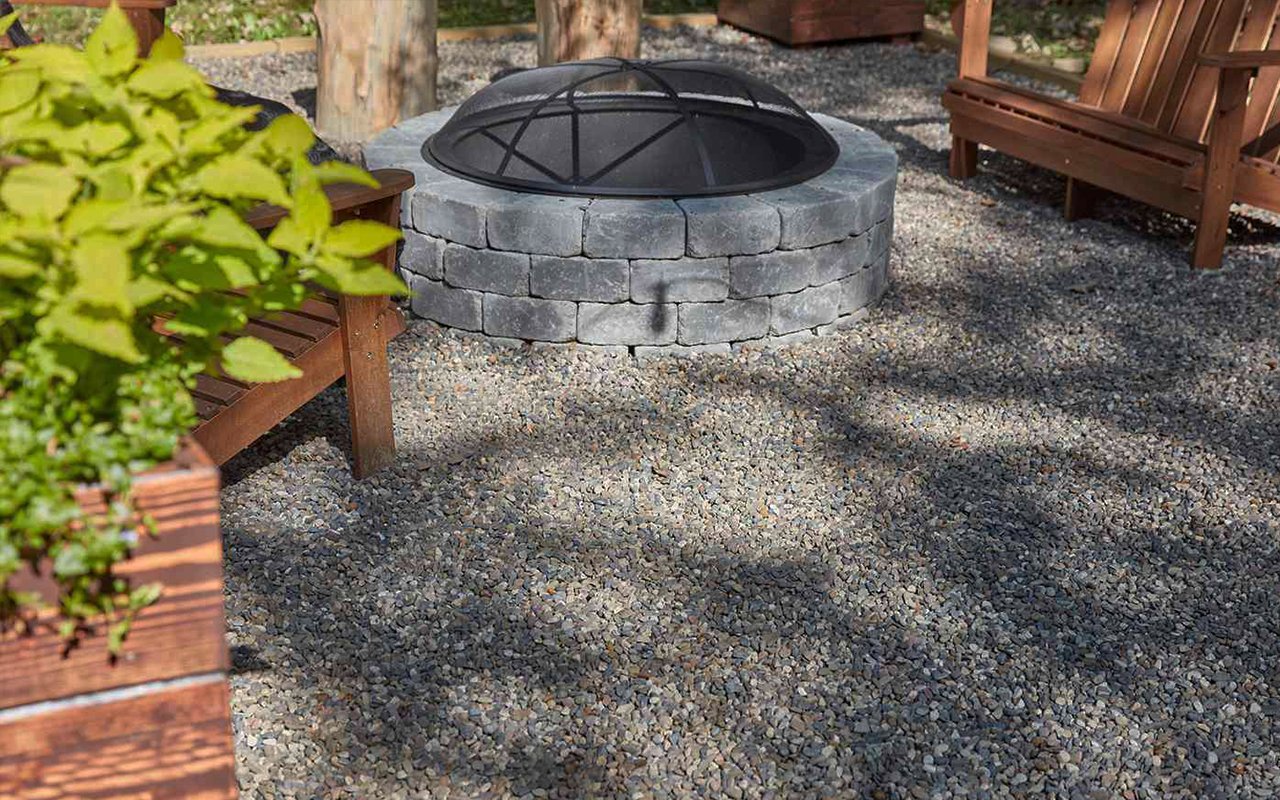
This in-ground pit has a well-defined “hearth” area, allowing you to control where the embers fall and preventing accidental fires. For these reasons, it makes for a very secure bonfire and an aesthetically pleasing design.
12. Use Boulders to Make a Cost-Free Fire Pit
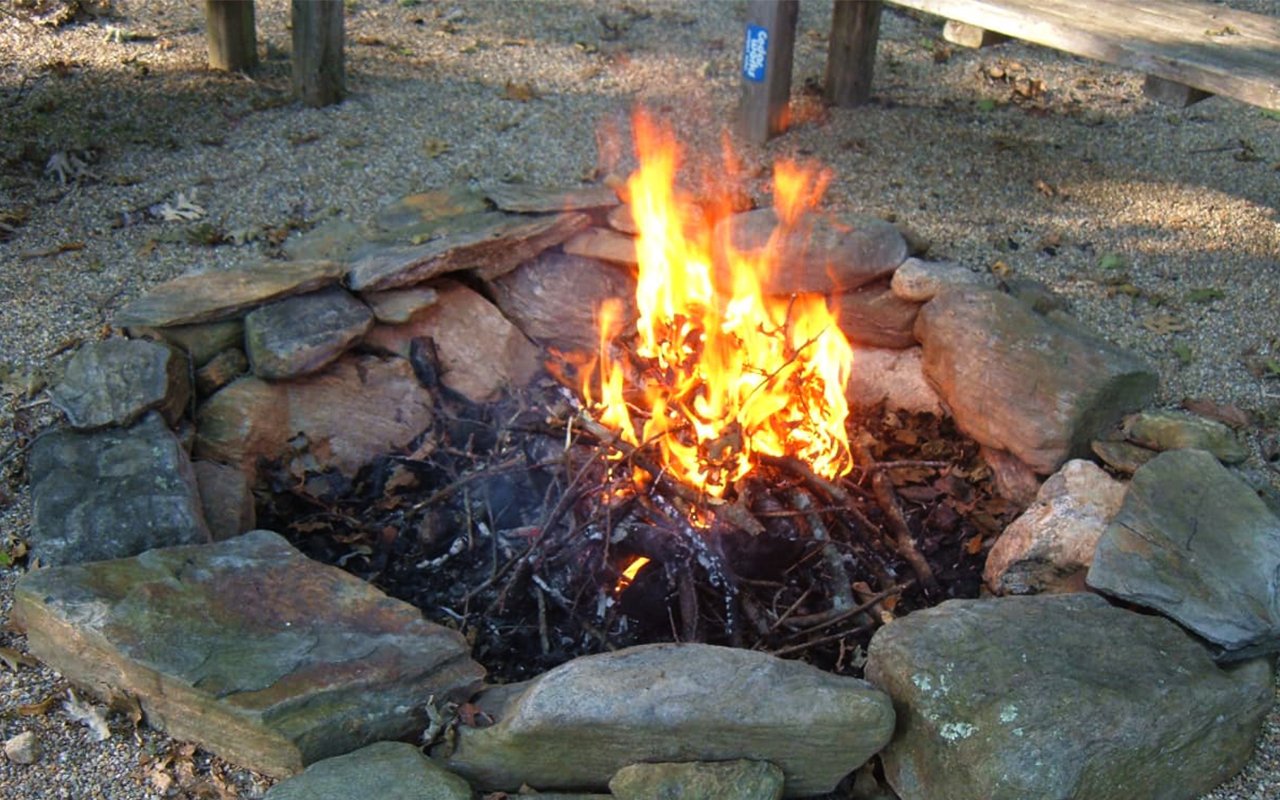
If you save money on your construction project, use boulders and rocks. They are the cheapest building materials, especially if you can find them on your property or in your yard. These pits are perfect for a more rustic setting or if you want to get away from it all. Not only are boulders great for decoration, but they also retain heat very well.
This inground fire pit is made up of eight large boulders and is filled with gravel, which mirrors its patio. There are three benches surrounding the fire, which are constructed from cinder blocks and wooden boards. This inground fire pit is easy to set up and creates a stunning display.
13. Use Smaller Rocks for a Shallow Fire Pit
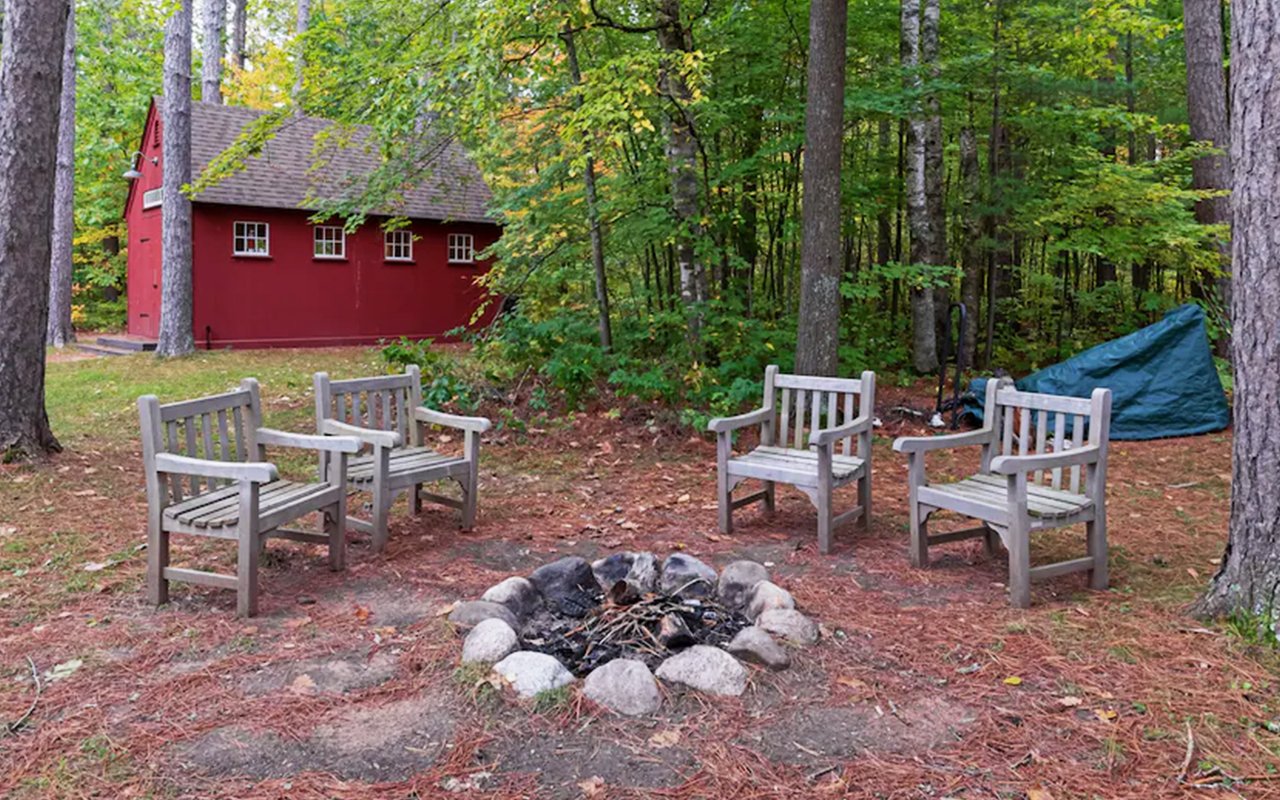
Sometimes you have to do your work with what you have on your hand. This inground fire pit is an excellent example of how something so simple can be beautiful. Made with just a few small boulders, it’s the perfect addition to any backyard.
14. Cast Boulders into Concrete for a Built-In Fire Pit
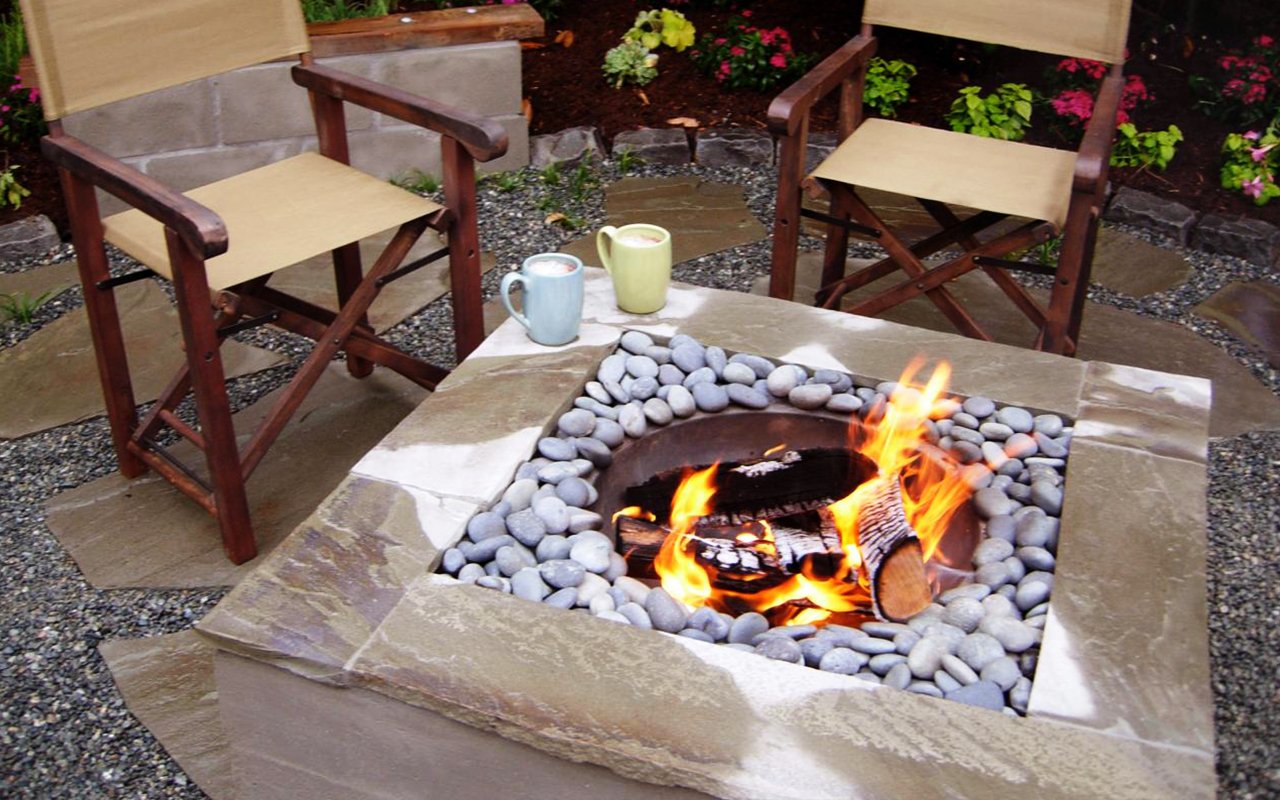
Are you planning on making your inground fire pit a permanent part of your home? We adore this concrete-cast design. After you have laid out your large rocks or boulders as desired, create a wide concrete perimeter to use for seating.
15. Add Some Ambiance with Lights
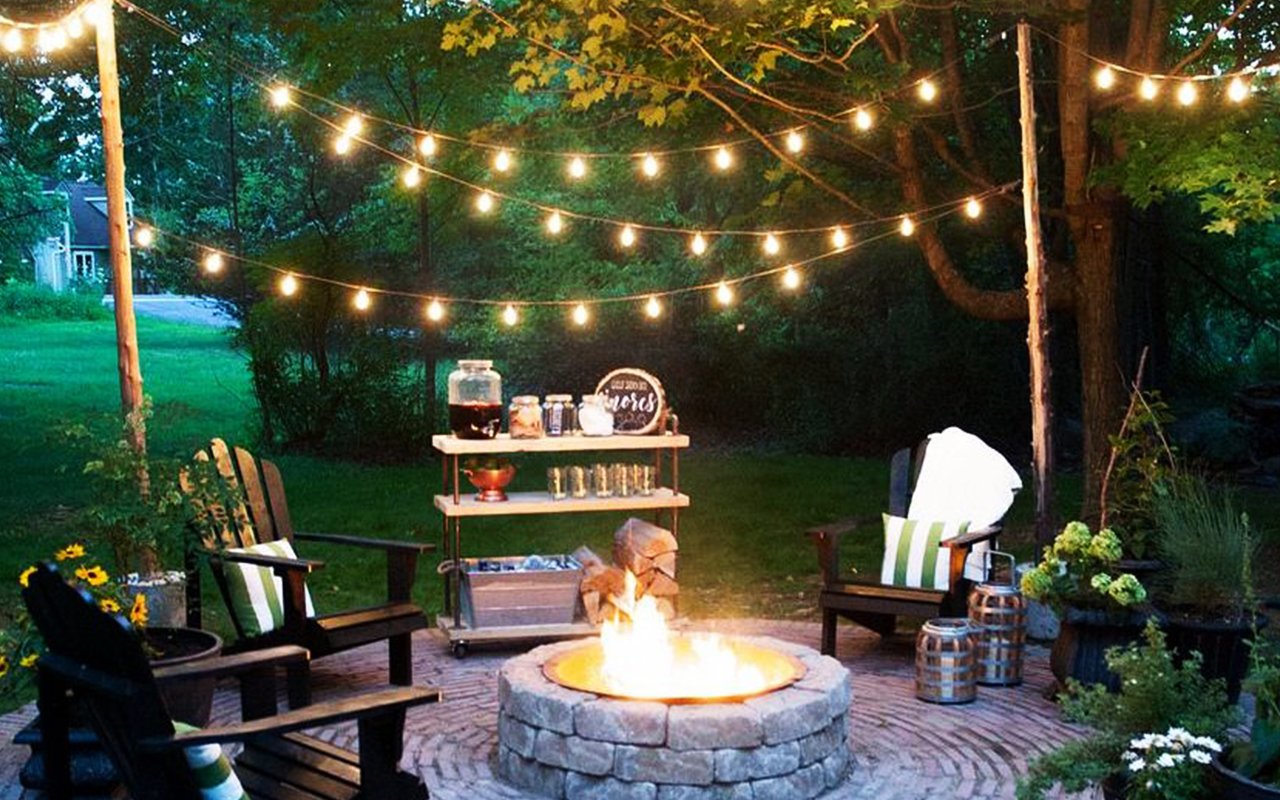
Setting the scene with natural stone and large, irregular flagstones makes for an intimate and cozy hangout. We added a few small wall lights to help guests find their way to their seats, and we love how they look.
16. Add Colored Furniture to Complete Your Outdoor Fire
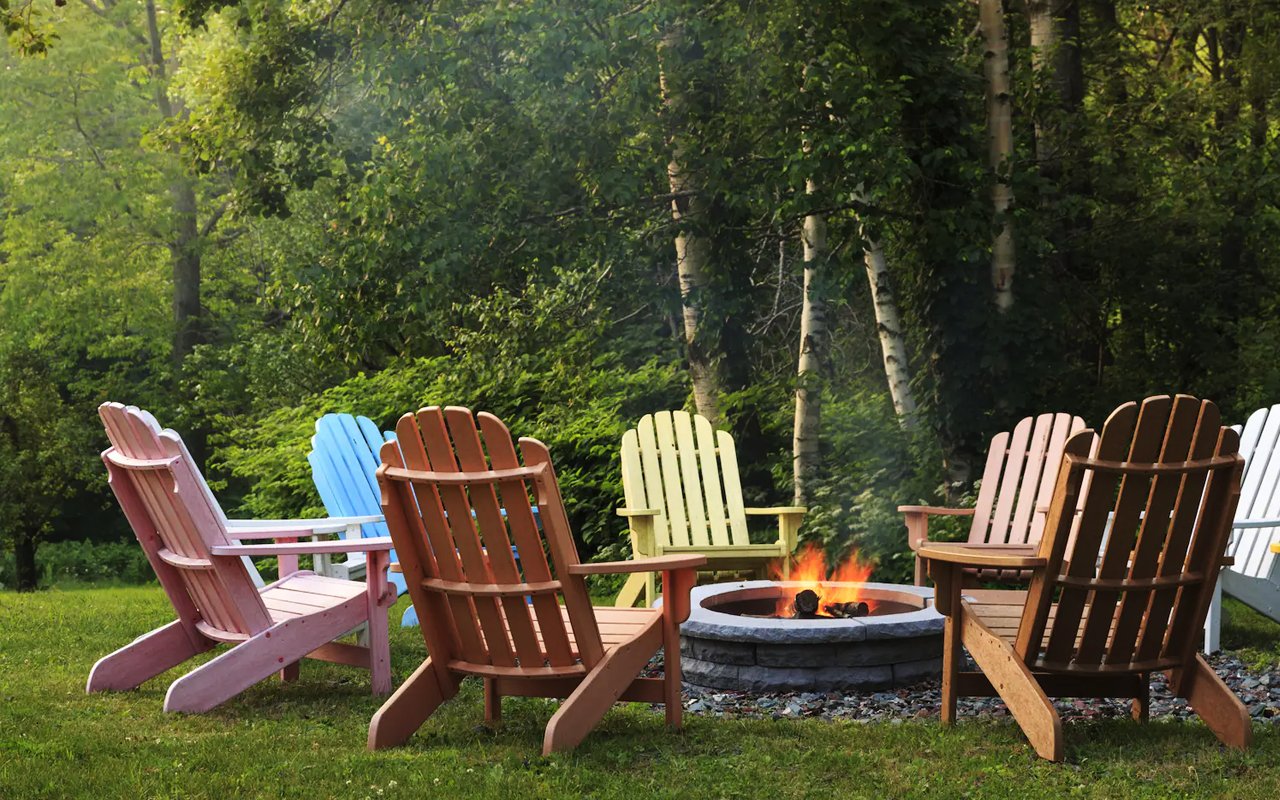
Add some color to your backyard entertainment area with brightly colored furniture. The addition of a red element makes this otherwise dull stone and slate fire pit more interesting. The natural wood and log bench further amplify this rustic river scene.
17. Create a Rustic Fire for a Log Cabin
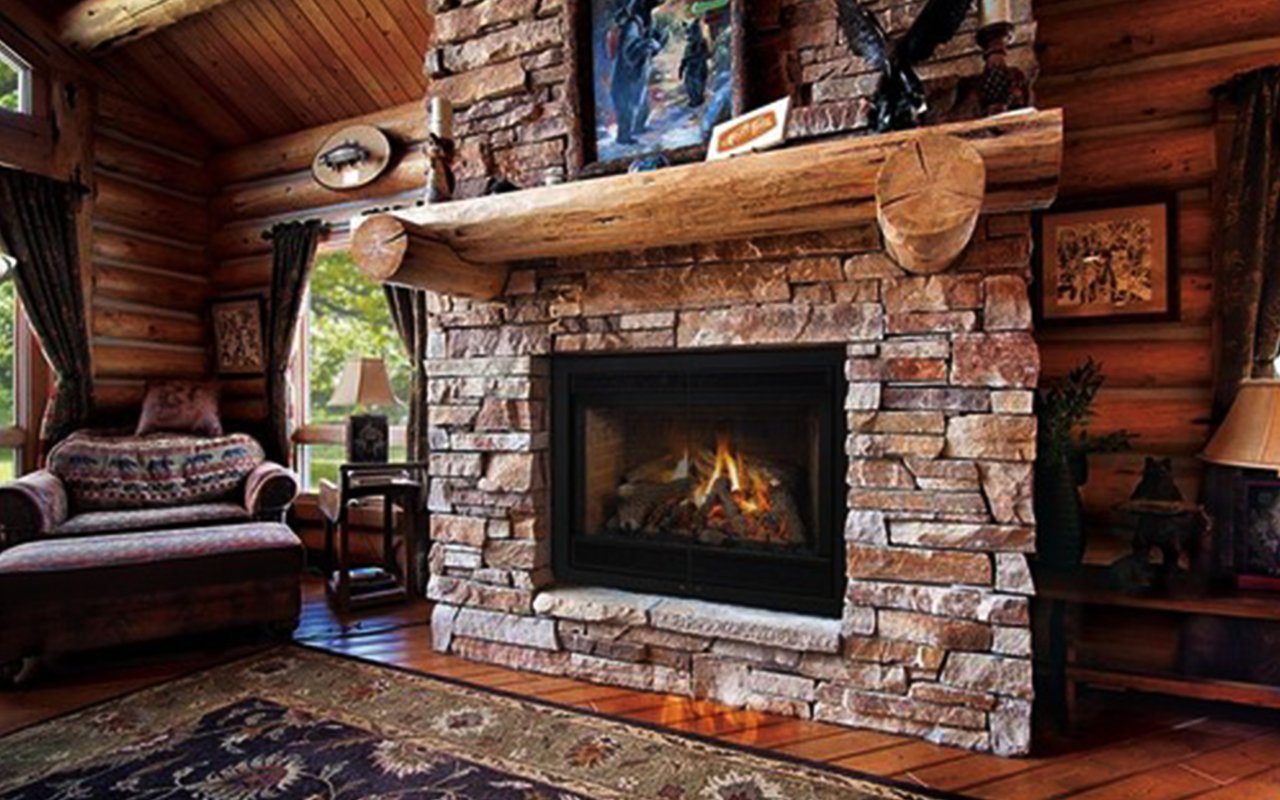
Fire pits can add beauty and functionality to any space, indoor or outdoor. The example above shows how sometimes, flowers can make great centerpieces for your garden. This home, with its natural wood furnishings, different-colored pebble accents, and concrete-cast fire pit, makes it feel like you’re in the forest.
18. Use Cinder Blocks for a Fire Pit

Cinder blocks are a perfect choice if you’re looking for an easy and fast way to build a backyard fire pit, regardless of shape.
Before you incorporate cinder blocks into your inground fire pit design, it’s essential to understand the pros and cons. Our article DIY Cinder Block Fire Pit Ideas will help set you on the right way.
The best thing about cinder blocks is that they are big and bulky, so you don’t need glue or mortar to hold them together. Your pit will be sturdy enough to support its own weight.
19. Plan Your Fire Pit Before Building It
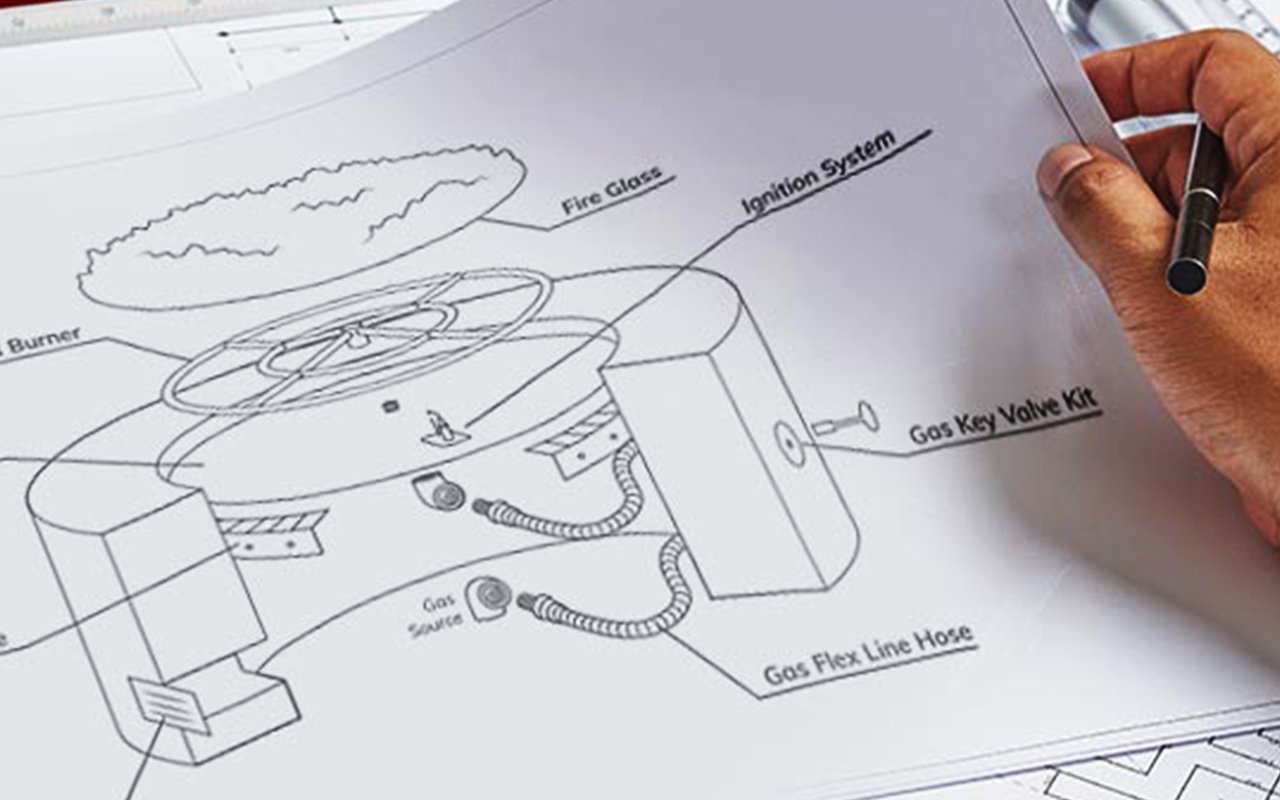
You can use whatever type of stones you have handy in your yard to build a inground fire pit. You can always find tons of ways to save money. By planning your work before you start building, you can avoid unintentionally doubling your workload. With the proper foresight, you’ll have a stunning inground fire pit to enjoy in your backyard without breaking the bank.
20. Use Square Pavers to Create an In-Ground Fire
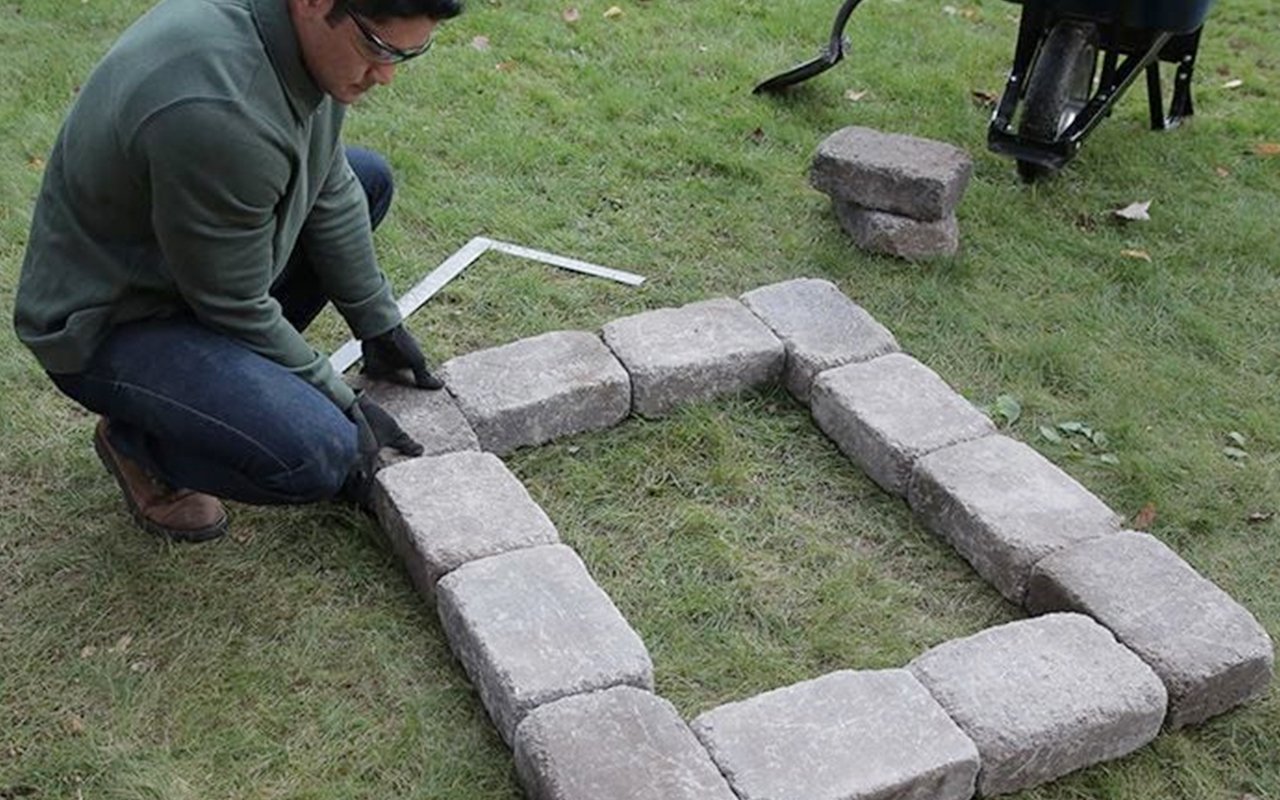
You can use pavers for more than just in-ground fire pits; they’re perfect for sunken designs, too. This DIY in-ground pit is simple to build and can be done quickly without costing a lot. You will be amazed at how simple it is!
The most challenging part of the entire process is digging out the hole, but once that’s done, simply lay down a layer of pebbles or sand for the base. After creating a metal ring (optional), set square or curved pavers around it in a circle, then fill the remaining space with large rocks to help preserve heat. This gorgeous campfire look can be yours in no time.
How to Build an In-Ground Fire Pit
A fire pit is an ideal addition to any outdoor space when the temperature starts to drop. A fire pit in your backyard encourages comfort and warmth during those chilly evenings while you entertain guests. In order to begin a fire in a wood-burning pit, you need three things: fuel, air, and a heat source. If a fire pit doesn’t have enough airflow, it’ll produce large amounts of smoke. Standing water can also lead to combustion problems. This guide provides fire pit designs that will both bring in air and drain water. Keep reading for tips on how to construct your own in-ground fire pit.
1. Gather Materials and Tools
You can assemble a fire pit from a kit, or you can build one entirely from scratch. Before you start building your own in-ground fire pit, make sure that you have the correct tools and materials on hand. The items you’ll need to gather for the fire pit are as follows:
- Tamper
- Retaining wall blocks
- Level
- Rake
- Marking paint
- Hoe
- 90-degree elbow aluminum pipe
- Coarse gravel for drainage
- Square point shovel
- Trenching shovel or drain spade
- 4-inch x 2-foot aluminum pipe
- Wide push broom
- String and level
- Lumber for stakes
- Measuring tape
- Aluminum vent pipe flashing (for air inlet)
The number of supplies you’ll require to construct the paver patio will alter based on the dimensions of your space. For example, you would need 60 12-inch x 12-inch paver stones to cover an area of 60 square feet. In order to have a sturdy paver base, you’ll need 4 inches of gravel. To calculate how much gravel you’ll need in total, take your square footage and multiply it by 1/3. You will need 20 cubic feet of gravel and 3/4 cubic yards for 60 square feet. Get 1/3 the amount of sand as gravel.
2. Lay Out the Location
Choose an area in your backyard that is level and has a nice view. For safety reasons, construct your in-ground fire pit at least 15 feet from any trees, shrubs, or buildings. Here’s how to construct your in-ground fire pit after you’ve decided on a location:
- This guide will teach you how to build an in-ground fire pit that is 36 inches across and surrounded by pavers.
- The center of your new pit will be the focal point. Place a stake in the ground to mark your center point. You will use this stake as the center of two circles that you will draw. Tie a string loosely to the stake to make each circle. You’ll want it to turn as you move.
- Measure 40 inches from a stake using the string for the in-ground fire pit circle. This provides a few additional inches for you to use as you build. Hold the paint can on the radius of your circle and spray, running the string around the center point.
- Simply measure a 12-foot circle from the stake using the string for the second circle for the paver area. As you walk around the center point, keep the paint can within the radius of your circle and spray.
Tip:
- Always call 811 before digging to avoid damaging underground utility lines.
- Remember, any lines that weren’t installed by a utility will be unknown to them.
- Be mindful of any underground utilities that might have been installed before you start digging.
3. Dig In-Ground Fire Pit Hole
- First, dig the pit within the first circle you marked in Step 1.
- Make the hole for your fire pit at least 18 inches deep so you can enjoy it safely and properly. Keep a tarp or wheelbarrow near you to place the excavated soil. After you dig the initial small pit, move on to the next bigger circle from Step 1.
- There’s no need to make this dig any deeper than the depth of your chosen pavers. You want the paver patio area to be slightly away from the fire pit. This will help to direct rainwater away from the pit. Checking the pavers’ angle with string levels and stakes as you dig will help ensure a straight sidewalk.
Tip: Consider using a sod cutter and transplanting the grass elsewhere if the grass is growing in the area.
4. Add Drainage
A crucial step in building a DIY in-ground fire pit is ensuring it drains properly. Mosquitos will quickly breed if your fire pit doesn’t drain properly. Not only can it grow mold, but other organisms as well. Depending on your needs, you can use any of the following drainage techniques:
- If your soil drains well or you have moderate precipitation, dig a hole in the center of the firepit. The hole should be 18 inches deep and 12 inches in diameter. This hole needs to be filled with large gravel.
- For drainage issues or heavy rains, dig a trench from the center of your garden outward. Dig about 10 feet from the firepit if you add a drainpipe. The drainage trench should be a minimum of 6 inches wide. The depth of the trench should gradually get deeper. Start digging a 2-inch deep hole, then slowly make it deeper until it is 6 to 12 inches deep. This will ensure that the water flows away quickly and efficiently. To begin, cover the bottom of the fire pit with either gravel or lava rocks. Use a tamper to pack gravel into the dirt. The pit should be filled with 6 inches of loose gravel.
- Fill the trench with approximately 2 inches of large, loose gravel and lay a drainpipe. Use perforated pipe wrapped in a landscape fabric or septic tank drain field pipe section. After you put the pipe into the trench, cover it with additional loose gravel. Cover the gravel with a piece of landscaping fabric, and then finish filling the trench up with dirt until it is level with your patio area.
5. Build the Fire Pit
After you dig the hole for your in-ground fire pit, the next step is to lay the blocks.
- Begin by laying the first course of blocks in the pit. Remove two blocks Once you are satisfied with the shape. Choose one object from each side, directly opposite of each other. (There should be no blockage in the drainage trench.)
- Remove the dirt to make room for the elbow pipe. The elbow pipe will point upward and extend outward from the fire ring. It will be placed in the opening and point towards the fire.
- Install elbow pipe. Collect dirt under and around the elbow pipe. This will provide support to the landscaping blocks that will go over it. Keep stacking landscape blocks, offsetting the joints in a brick pattern.
- Use the aluminum pipe to connect the elbow. The final height of the patio area can be determined by using a paver or two to gauge. Use a level and marker to measure the finished height of the air inlet pipe.
- Use an air inlet cap to determine where the pipe must be cut, then remove the pipe. The cap’s opening should be a little above the finished surface. Use snips to cut the pipe open.
- Close the pipe and attach the cap, being careful not to cut yourself on any of the sharp edges. Afterward, insert the pipe into the elbow joint.
- Carefully place a few more inches of gravel into the bottom of the fire pit, making sure not to cover up the air inlets. Finish setting up the blocks around the perimeter.
6. Build a Paver Patio
The last step to learning how to build an in-ground fire pit is creating a paved area. This will provide a reliable surface to set chairs and other patio furniture.
- Cover the work area with a 4-inch layer of gravel base and 1 inch of paver sand. Use a tamper to compact the area until you have achieved a firm base.
- Begin by placing pavers in the center of the firepit, and work your way out. For every 8 feet, pavers should slope away from the firepit about 1 inch. To make a mason’s line, drive stakes into the ground and tie string between them. As you progress, mark the height of the stakes. Adjust the mason’s line as needed to keep the correct depth and pavers slope.
- As you place the pavers, fit them together snugly. If necessary, cut the pavers with a circular saw to achieve the desired shape and size.
- Cover the complete area with a light layer of paver sand. Use a push broom to measure your outdoor space.
7. Fire Pit Safety Tips
With your new fire pit comes a multitude of safety hazards. Make sure to follow these tips to keep you and your belongings out of harm’s way. Below are some helpful tips for fire safety:
- If you want to avoid accidental wildfires, make sure to check the wind forecast before using your fire pit.
- Place your fire pit in an area that reaches inside your garden hose, or keep a fire extinguisher close in case of emergency.
- Spraying lightly with water is the most effective way to put out a fire. You should also spread out any hot embers or unburnt wood just to be safe.
- Always ensure that your fire pit is fully extinguished and cooled before using any lighter fluid or other flammable materials.
- If you’re not using your fire pit, make sure to put a cover over it to keep out snow or rain.
- Parents should keep their children and pets at a safe distance.
Conclusion
You understand how to make an in-ground fire pit. It’s a wonderful way to improve the look of your home exterior and provide extra warmth and light during colder evenings outside. If you want a stunning in-ground fire pit, be prepared to invest some effort and time. Before starting your project, double-check that you have all the necessary materials and tools.




Comments are closed.