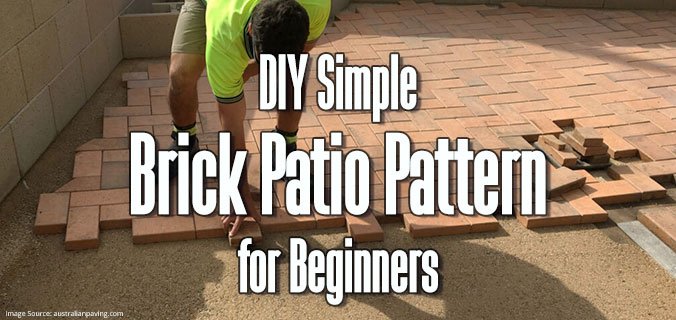
Patio bricks may be laid in a variety of designs. The pattern is merely for aesthetic purposes and will have the same effect on the brick surface regardless. For novices, it is advisable to utilize a basic design that doesn’t need much cutting of bricks. The basketweave, which is both attractive and noticeable yet easy to set up, would be an excellent option. If you want to construct a square or rectangular patio based on the bricks you have available, you won’t have to cut any of them.
The ideal bricks for this project are paving bricks or brick pavers, which are about 2 inches thick and have smooth, solid faces. These are designed to provide a pleasant walking surface with a smooth, solid face thickness of about 2 inches. To create a checkerboard pattern in a basket weave design, you must have the widths of two bricks equal the lengths of one another. As a result, paver dimensions of 4 x 8 inches are optimal.
The simplest way to construct a brick paver patio is with the sandset technique. The bricks are placed on the ground, followed by a layer of compacted gravel and a smooth layer of sand with landscape fabric. To keep the pavers in place, you must sweep sand into the gaps between them after they have been laid.
Codes and Regulations
Call your city’s building department to find out about all building code and zoning laws, as well as land-use restrictions that may apply to your project. In most cases, a simple paver patio does not need a construction permit, but zoning and land-use rules may prohibit it. If the planned patio is located near a property line, easement, or right of way, the city may demand a survey of the property and maybe other paperwork before you can construct it.
TIP: Clay bricks are harder than concrete if they’re fired in a kiln.
What You’ll Need
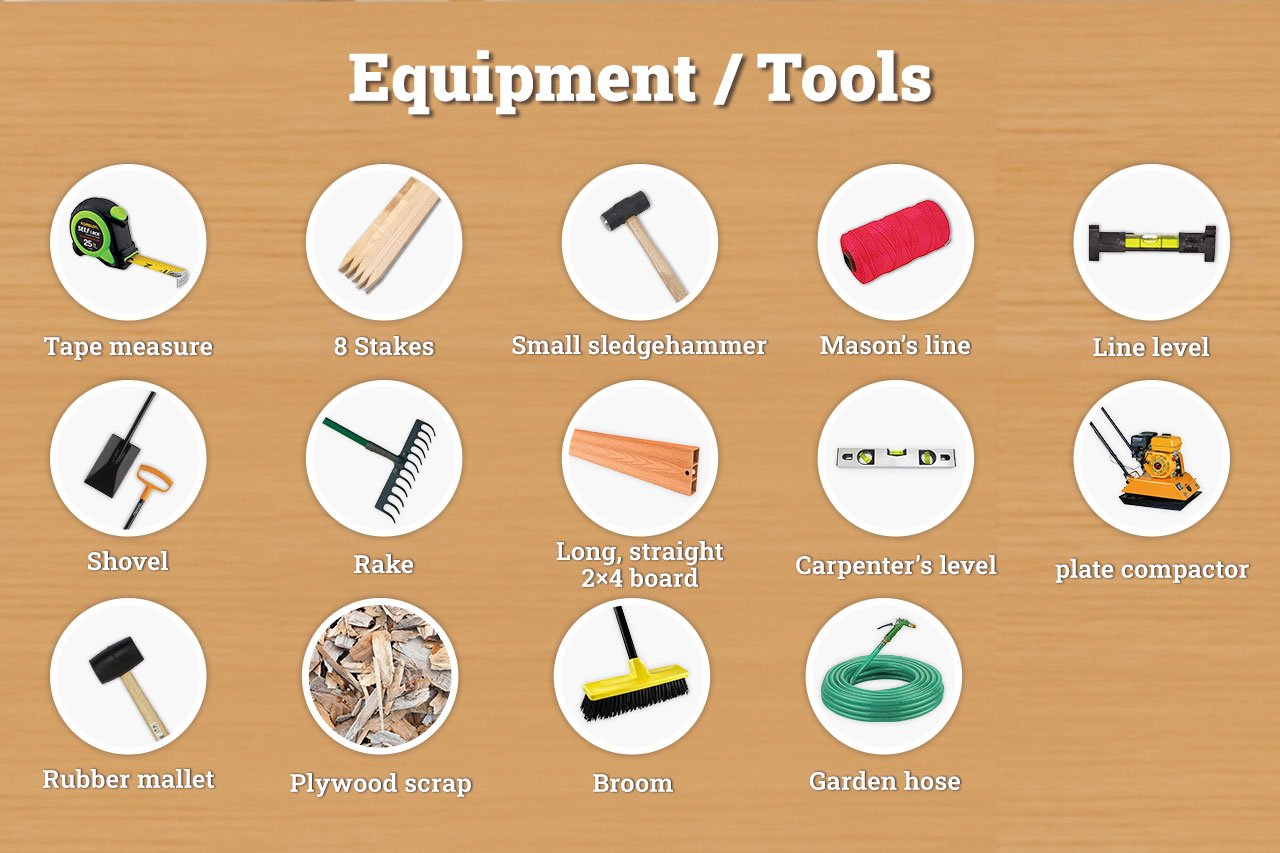
Equipment / Tools

- Tape measure
- 8 Stakes
- Small sledgehammer
- Mason’s line
- Line level
- Shovel
- Rake
- Long, straight 2×4 board
- Carpenter’s level
- Hand tamp or plate compactor
- Rubber mallet
- Plywood scrap
- Broom
- Garden hose
Materials

- Paving bricks
- Brick patio edging
- Compactible gravel
- Landscape fabric
- Sand
- 50-pound bag polymeric sand
Instructions
1. Mark the Patio Edges
Create layout lines for the patio by using stakes and mason’s line. The dimensions should be based on the size of the brick paver; rather than the edging, use them to represent the outer edges of the bricks. A layout may be created with simply four stakes, but it is better to drive two at each corner, about 2 feet beyond each end of the patio. When you attach lines to the stakes, the points at which the lines cross indicate the real patio corners. This method allows you to dig and prepare the entire patio area without getting in the way of the stakes.
Ensure that the string layout is square by measuring diagonally between opposing corners(where the strings meet); when the diagonal measurements are equal, the layout is square.
2. Slope the Strings
Place a level on each layout string and adjust the string’s end up or down until the line is precisely level. Then, lower the strings on the patio’s downhill end by 1/4 inch for each linear foot of patio length. For example, if a 10-foot-long patio slopes down 2 1/2 inches from one end to the other. The flooring should slope downward at the downhill end; ideally, it should be positioned as far from home as possible, so that surface water runs off instead of towards it.
3. Excavate the Area
Excavate the patio space to a depth of 8 inches, extending the dig approximately 6 inches beyond the brick pattern on all sides. Slope the soil to match the layout lines, going down from the lines as you go to ensure an 8-inch depth. Dig down to the bottom on both sides, then dig out the middle with a long, straight 2×4 board and a level to make sure that the entire region is flat and level from side to side; while the soil base will slope toward the downhill end, it will be level from side to side. Tamp the soil evenly with a hand tamp or rented plate compactor.
4. Add a Gravel Base
To a depth of 4 inches, fill the excavated area with compactible gravel. Rake the gravel smooth and flat, slope it to match the string layout, and tamp it so that it is thoroughly compacted.
5. Install Paver Edging
Install paver edging along the patio’s perimeter, as directed by the manufacturer. When the bricks are in place, standard plastic edging is concealed behind them. It uses metal spikes to install. To ensure that the edging placement is correct (that you won’t have to cut any bricks), line up the bricks along the edges. The edging should fit closely against the test-fit bricks. Remove the test-fit bricks while maintaining the edging in place.
6. Add the Sand Layer
Over the gravel lay landscape fabric; this prevents weeds and keeps the gravel from mixing with the sand layer. Pour 2 inches of sand over the landscape fabric. To smooth and level the sand, use the 2×4 as a screed. There should be 2 inches of space between the top of the sand layer and the edge of your patio. Remove all layout strings and stakes.
Tip: Spray the sand with a light mist of water until it is thoroughly soaked. It helps to concentrate and compact the sand.
7. Lay the First Row of Bricks
Start at one corner and work your way along the edge, laying the first bricks in one row. Alternate each pair of bricks should be perpendicular to the edge, then parallel, and so on. Gently press the bricks into the sand to set them in place. If required, tap the bricks with a rubber mallet to settle them into the sand.
Run a mason’s line down the first row, parallel to the brick leading edges. Tauten the line and secure it at the ends with stakes or clamps, as desired. To ensure that all leading edges are level with the line, straighten any out-of-level bricks in the first row as needed.
8. Lay the Remaining Bricks
Install the bricks one row at a time, keeping the mason’s line in place for each row. To kneel on comfortably and prevent the erected bricks from shifting, cover them with a sheet of plywood. The last row should fit closely against the edge.
9. Lock the Bricks with Polymeric Sand
Polymeric sand stiffens in the joints between pavers, “locking” them in place and preventing weed growth. After spreading polymeric sand over the bricks, sweep across the patio surface with a push broom to work it into the cracks. Sweep in many directions to fill all cracks with sand, adding more as you go until the gaps are filled. To settle the sand in the cracks, gently spray the patio with a garden hose. This will start the stiffening process by activating the sand. Fill and sweep additional sand into the cracks and then spray them again until all of the cracks are entirely filled, and the sand is settled.
10. Backfill the Edging
Fill in behind the brick edging with soil and sod or other landscaping materials. This partially conceals the edging to give the area a finished appearance, as well as assisting in keeping the pavers and edging in place.
Tips for Building a Brick Patio
You may cut bricks to fit your design with a hammer, and masonry chisel or a circular saw with a masonry blade. However, if you have a lot of cuts to make, it’s worth renting a brick splitter, or a masonry wet saw for half a day simply because these equipment produce considerably quicker, cleaner cuts than hammer or handheld saw. A diamond blade is the greatest cutting knife to employ for sawing. In contrast, an abrasive blade may wear down rapidly and won’t cut as cleanly.

Want to use this infographic on your site?


Comments are closed.