A rigid plastic building material called paver edging creates boundaries for patios or walkways constructed of sand-set bricks or concrete pavers. After the compactible gravel base is laid, the paver edging is placed to form a barrier that keeps the sand layer in place and makes it easier to install. It also adds to the lifespan of the patio or walkway by keeping the sand base from washing away over time.
Paver edging, which is constructed of recycled vinyl or another hard plastic, is similar to the flexible garden edging used to define lawns and planting zones but is a heavier-duty, contractor-grade product. Paver edging comes in rigid 6-foot lengths held in place with nylon-coated spikes driven through the edging and into the earth, rather than being handed out in long rolls. If curves are required, connecting tabs on the edge can be removed to bend into gentle arcs.
The paver edging is no longer visible after the patio is completed and surrounded by grass or planting beds. While sand-set paver patios are frequently constructed without paver edging, a patio is generally more durable and long-lasting when these edge strips are installed and firmly anchored.
Using Paver Edging in Construction
Paver edging is generally added as part of a larger project, such as laying a sand-set paver patio or constructing a brick walkway. After the patio is completed and a gravel base is installed, leveled, and compacted, the lengths of paver edging are set over the gravel base to create a barrier for the paver sand that will be spread out and leveled before bricks or stones pavers are laid.
Occasionally, contractors or do-it-yourselfers will put the edging after the patio pavers have been laid, tucking it beneath the bricks before securing it to the ground. Although this is not technically right, it makes for a more forgiving construction process since anchoring the paver edging first requires precise planning if you want to avoid cutting bricks at the edges.
What You’ll Need
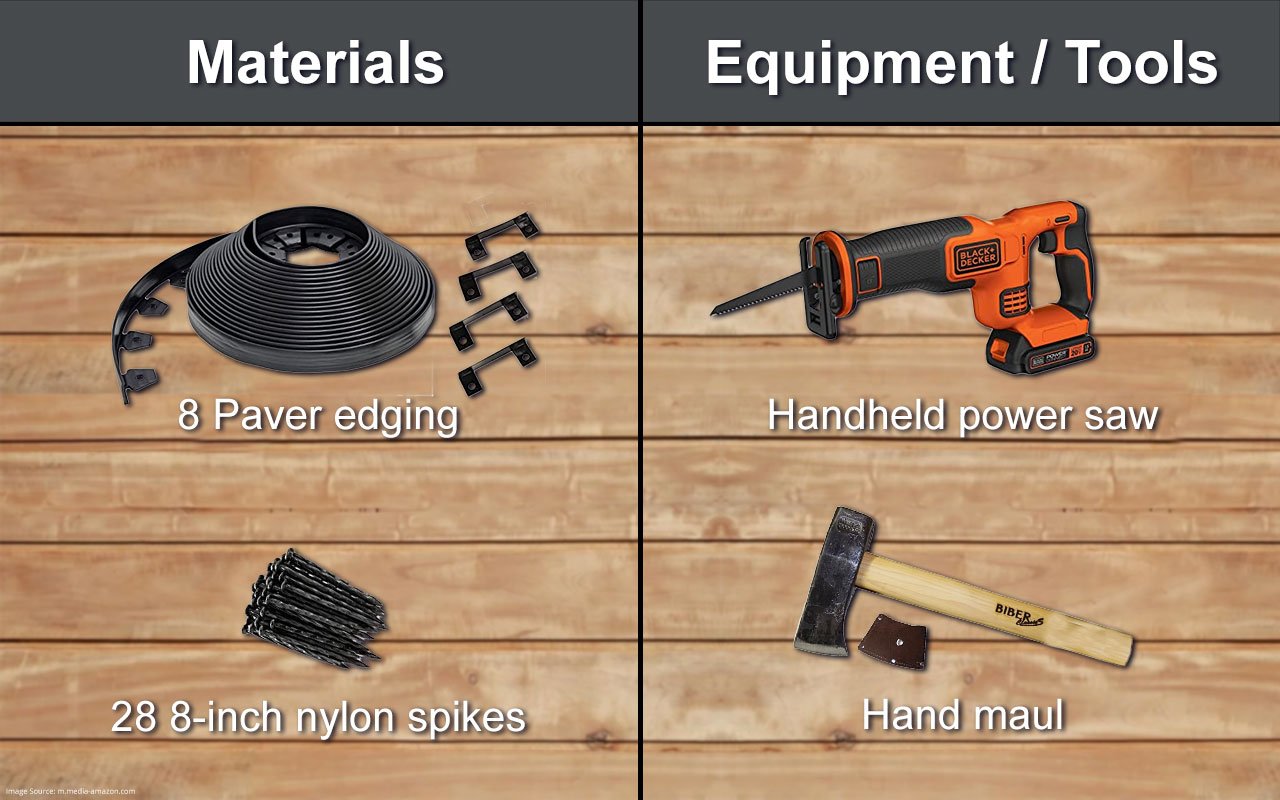
Equipment / Tools
- Hand saw or handheld power saw
- Hammer or hand maul
Materials
- 8 Paver edging
- 28 8-inch nylon spikes
Instructions
1. Begin Patio/ Walkway Construction
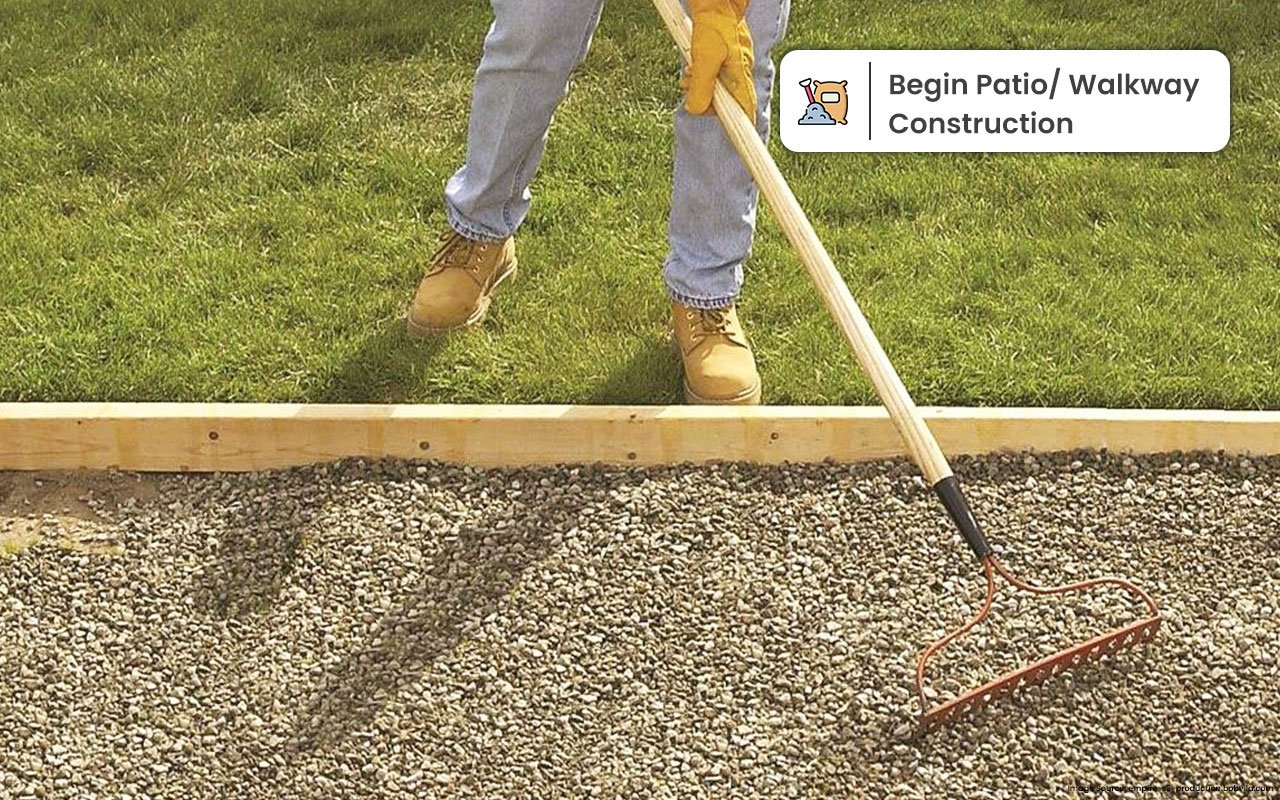
Finish the preliminary patio or walkway construction phases by laying out the site with stakes and layout strings, digging up the site, and laying and compacting a gravel base. Ensure to reattach layout lines and measure their length to outline the completed patio or walkway accurately.
2. Position the Paver Edging
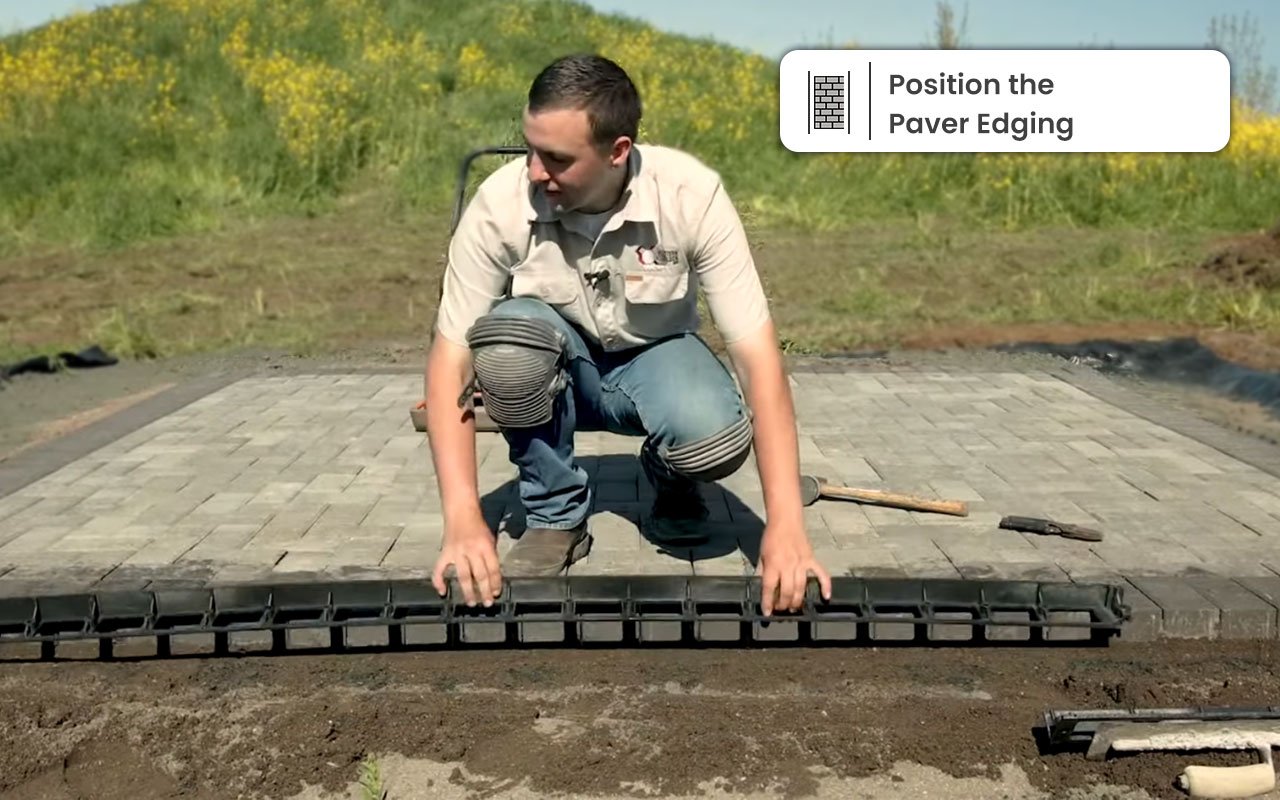
Install paver edging in the required locations, paying close attention to ensure they are correctly aligned with the layout strings. The ideal situation is for the edging to exactly match the patio or walkway’s desired size and form. When you need to cut a portion of edging, use a hand saw or a handheld power saw like a jigsaw.
3. Form Curves
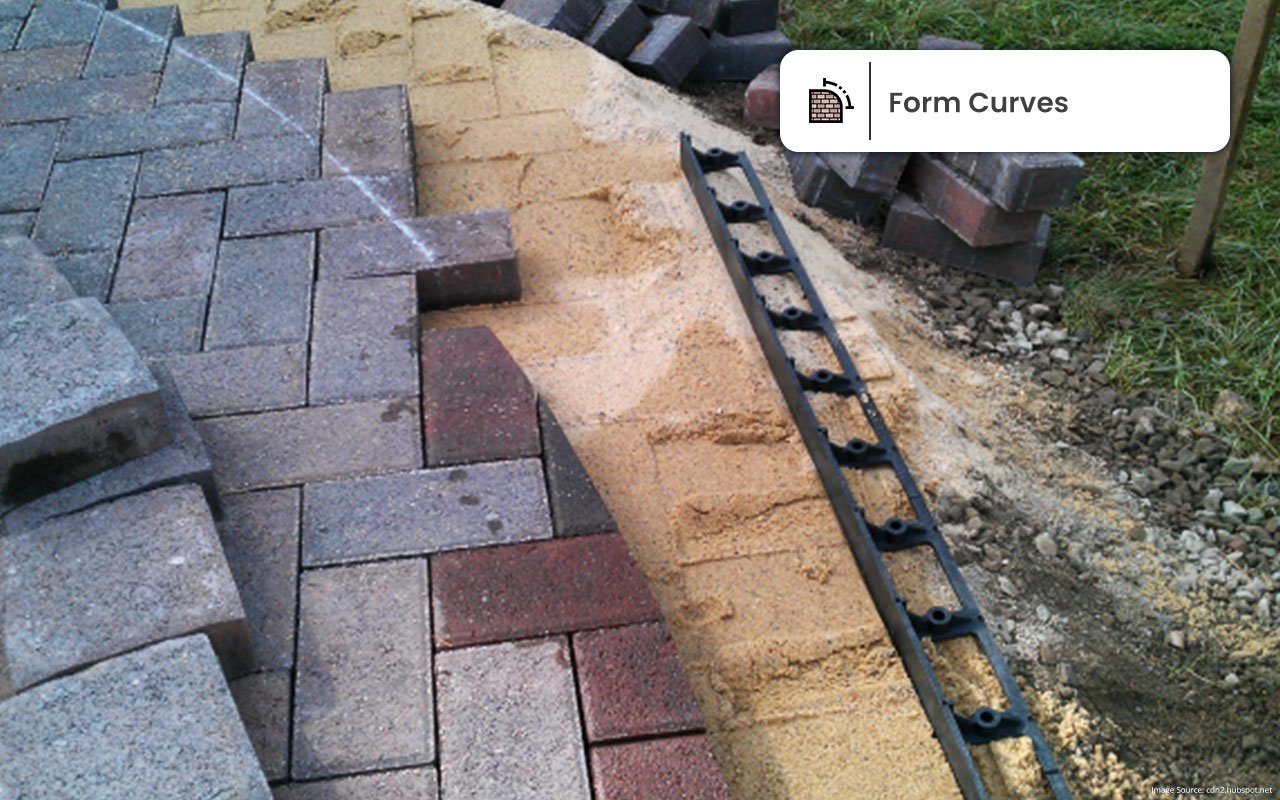
When the patio has curved edges, you may shape the connecting tabs along the edge of the edging to conform. This reduces the edging’s stiffness and allows the vertical flanges to bend to make curves. As you secure the edging with spikes, care must be taken to maintain it in its desired form. A helper might be useful for this procedure.
4. Anchor the Edging
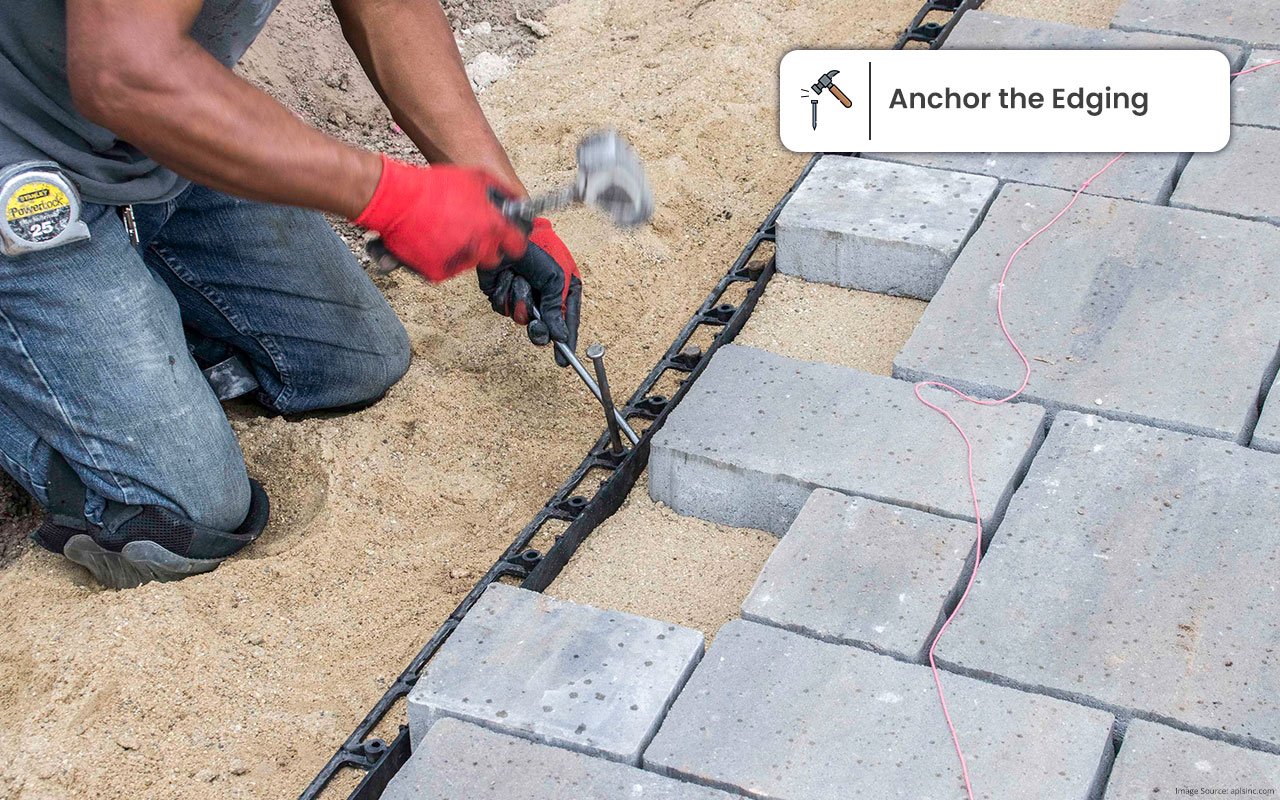
The base of each length of edging is secured with 8-inch nylon spikes driven into the ground. Drive spikes at the ends of each piece of edging, as well as every 18 inches in between. More spikes will be required for curves. When driving the spikes with a hammer, please pay attention to their state; they may sometimes break.
5. Complete the Patio or Walkway
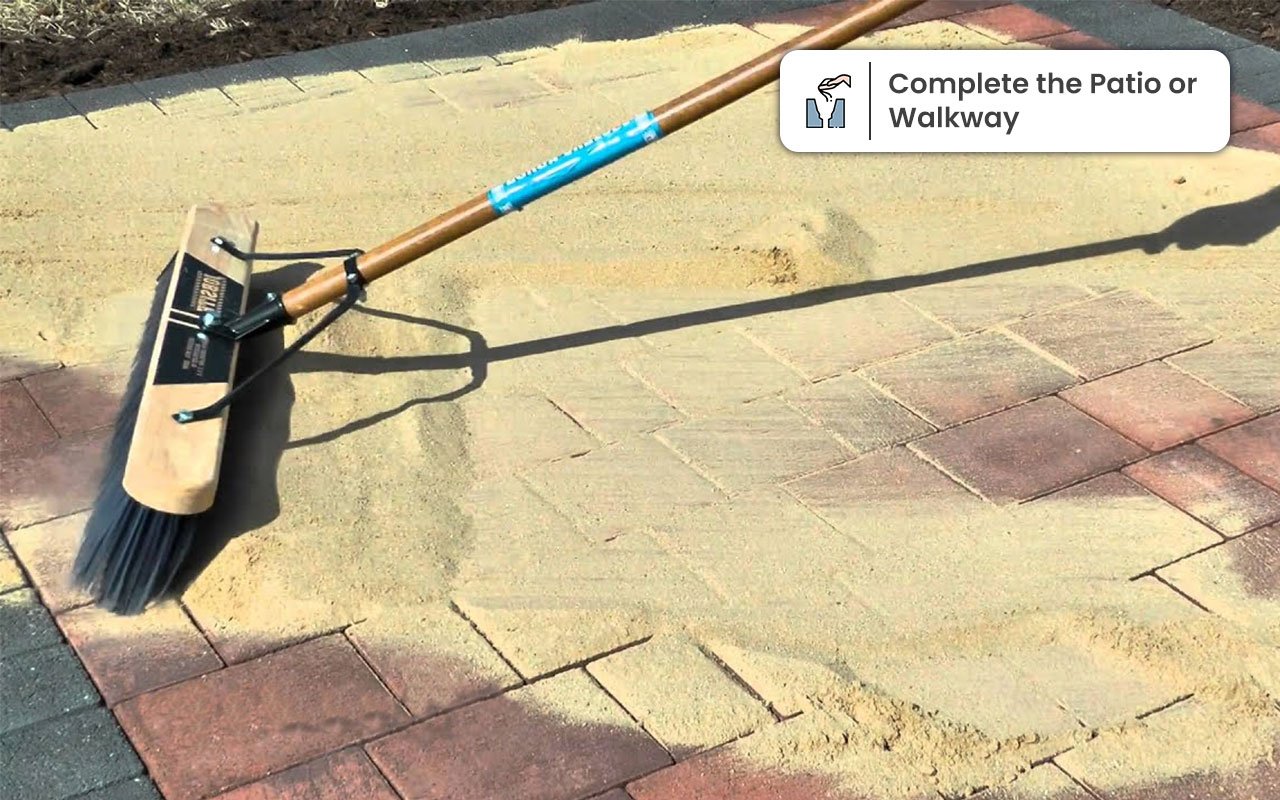
Now, go back to patio/walkway construction by laying a sand bed; placing the bricks or pavers, and adding paver sand to fill gaps.
As you go across the patio or walkway; you may discover that the final pieces of paver edging need to be adjusted slightly if you do not want to chop pavers. It’s a straightforward process of prying up the spikes, moving the edging, and re-driving them.
6. Finish the Edges
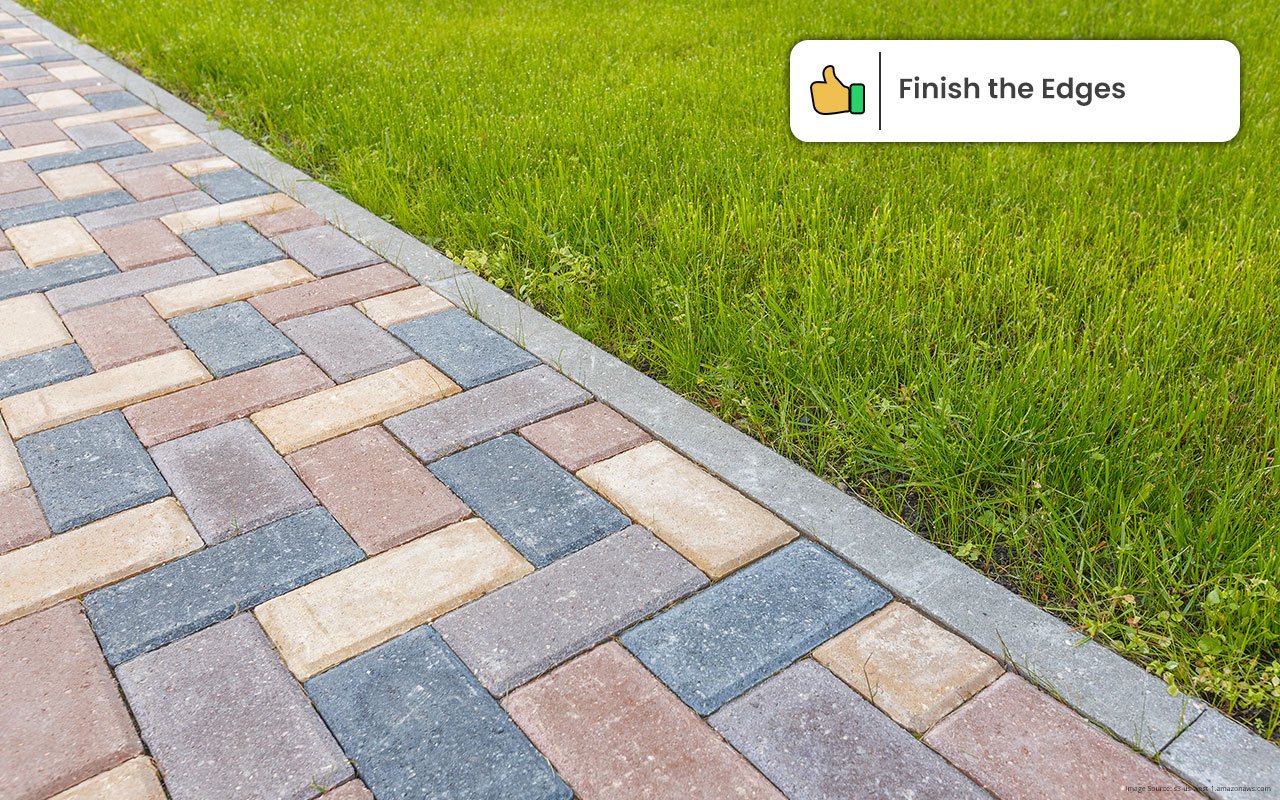
After the patio or walkway is finished, if it adjoins the lawn; pieces of sod may be used to cover up exposed paver edging; soil and mulch can be employed if it adjoins a gardening bed.
Other Useful Articles
9 Essential Paving Tips You Should Know Before You Spend Your Money on That Kit


Comments are closed.